Open OnDemand (OOD) is the easiest way to modify and run Jupyter Notebook on compute nodes of Andromeda. In this document, we will show you how to start a Jupyter notebook on OOD, and how to use a conda environment in your notebooks to access installed Python modules.
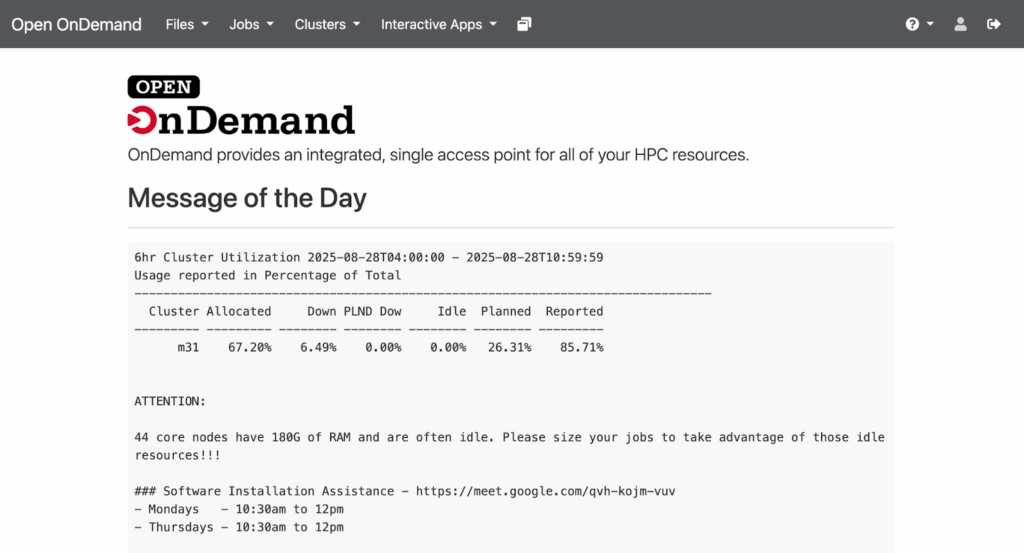
First, you can access OOD by navigating to ood.bc.edu in the browser. Enter your username and password to log in. You should see the dashboard:
From here, go to the Interactive Apps -> Jupyter Notebook tab. From here, you will see configuration options for the resources requested for your session. You can choose the number of CPU cores, the duration of the session, and the number of GPUs that your job will require. Note that the memory requested is equal to 4GB times the number of cores. If you have a need for more memory, you will need to request correspondingly many cores. Once you are satisfied with your configuration, click `Launch`. Depending on the availability of your requested resources, your job will be entered into the Slurm job submission queue.
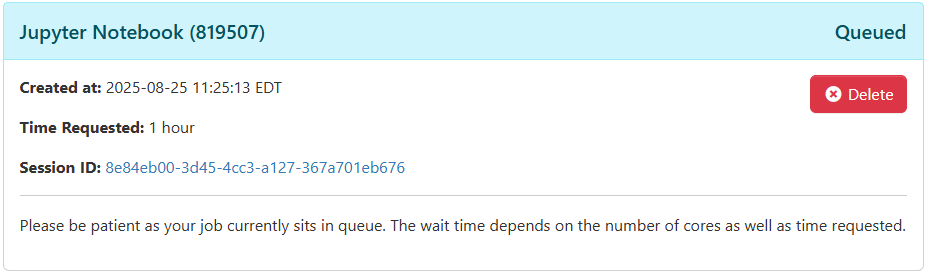
After a moment, it will be available. Click `Connect to Jupyter` to launch your session.
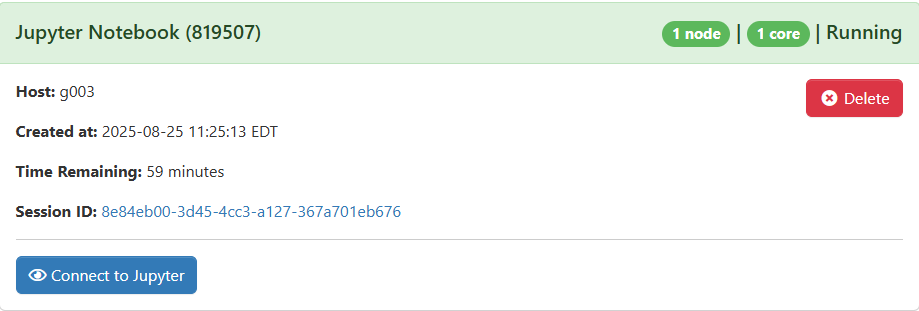
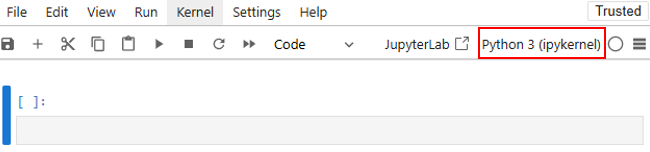
This will open a Jupyter session in your home directory. If you open a *.ipynb file, you will be able to modify and run it as usual. By default, this notebook will use the Python kernel associated with the operating system of Andromeda. This is likely not what you want, since you cannot install modules to this version of Python. You can view the available Python kernels by clicking on the current kernel in the top right, indicated by the red box:
You will likely see that the only available kernel is the default Python kernel. Now, let’s create and install a new Python kernel from a conda environment so that we can access installed modules.
This process is done in an interactive shell session. Full instructions for creating and modifying conda environments can be found here, but we will show the required steps here for completeness. Navigate back to the OOD dashboard and go to the Clusters -> Andromeda Shell Access tabs. This starts a shell prompt on the login node. Move to a Compute node by typing `interactive` and then hit Enter.
johnchris:~$ interactive
Executing: srun --pty -N1 -n1 -c4 --mem=8g -pinteractive -t0-04:00:00 /bin/bashPress any key to continue or ctrl+c to abort.srun: job 819510 queued and waiting for resources     srun: job 819510 has been allocated resourcescpu-bind=MASK - c049, task 0 0 [3031136]: mask 0x888800000000 set
Load the miniconda module with `module load miniconda`.
johnchris:~$ module load miniconda
Create a conda environment. You can name it whatever you like. Here, we call it `test_env` and set the Python version to 3.12.
johnchris:~$ conda create -n test_env python=3.12
When prompted to continue, hit `y` and then Enter. After a moment, the conda environment will be created. Activate it with:
johnchris:~$ conda activate test_env
Install whatever modules you need. In this example, we will use numpy:
(test_env) johnchris:~$ pip install numpy
You will additionally need to install `ipykernel` to interface with Jupyter.
(test_env) johnchris:~$ pip install ipykernel
Then, install your new kernel with the following command:
(test_env) johnchris:~$ python -m ipykernel install –user --name test_env --display-name=”Python (your env name)”
Then, restart your Jupyter notebook and you should see your kernel available in the dropdown menu.
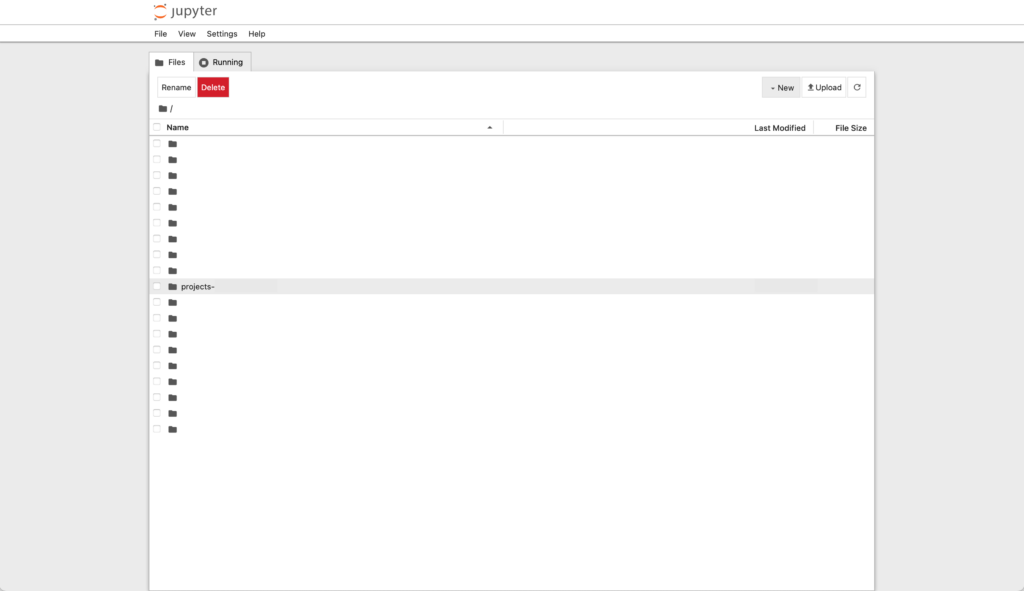
One issue might occur is that you wish to access to a parent directory (anyone “above” your personal directory /home/username) but cannot find it in the file browser in the Jupyter Notebook. This is due to the sandbox design of OOD applications and cannot be adjusted directly in the Jupyter session. The best way to solve this issue is to create a symbolic link connecting your own directory with the, for example, project folder directory. This can be done via the terminal:
[johnchris@c002 ~]$ ln -s /projects/groupname ~/projects-groupname
The link to the project folder will appear as a local folder in your own directory, and will be available in the Jupyter session. If you are running a Jupyter session when creating link and it does not appear immediately, click the “⟳” button on the top right corner to refresh the file browser.