One may use NoMachine to get a virtual desktop of the Linux Clusters, which will give you the graphical interface of programs. However, the configuration might be a little bit sophisticated. You will need to do this only once on a computer. After that, you can easily connect to the cluster and get the desktop that you set up.
- Download NoMachine from: https://www.nomachine.com/download and install it.
- If you are not on Boston College campus, you will need to download and install EagleVPN from https://bcservices.bc.edu/service/vpn before connecting.
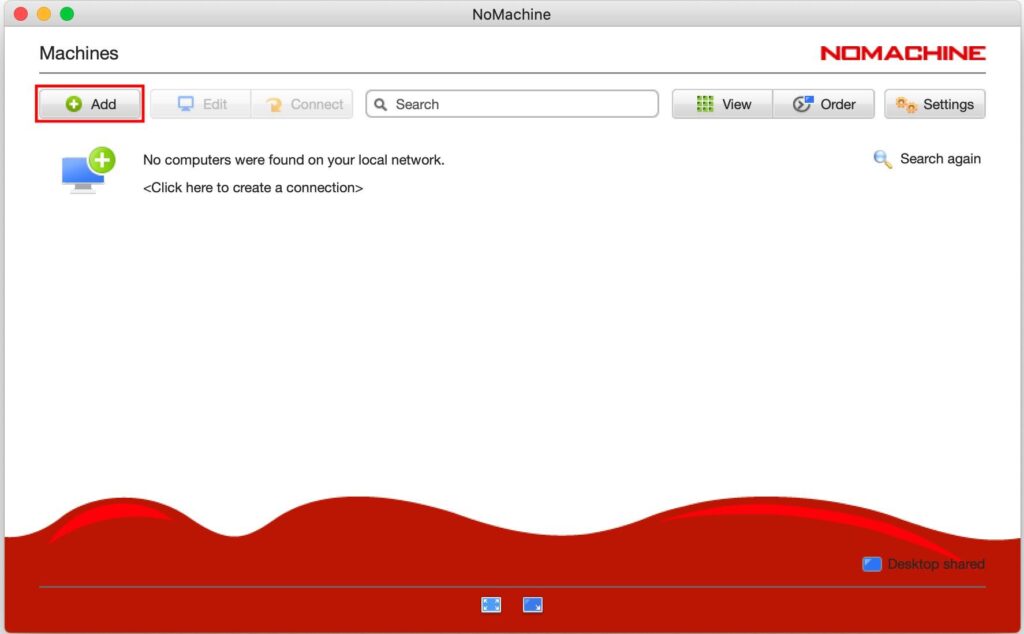
- Start NoMachine. Click the ‘Add’ button in the main menu:
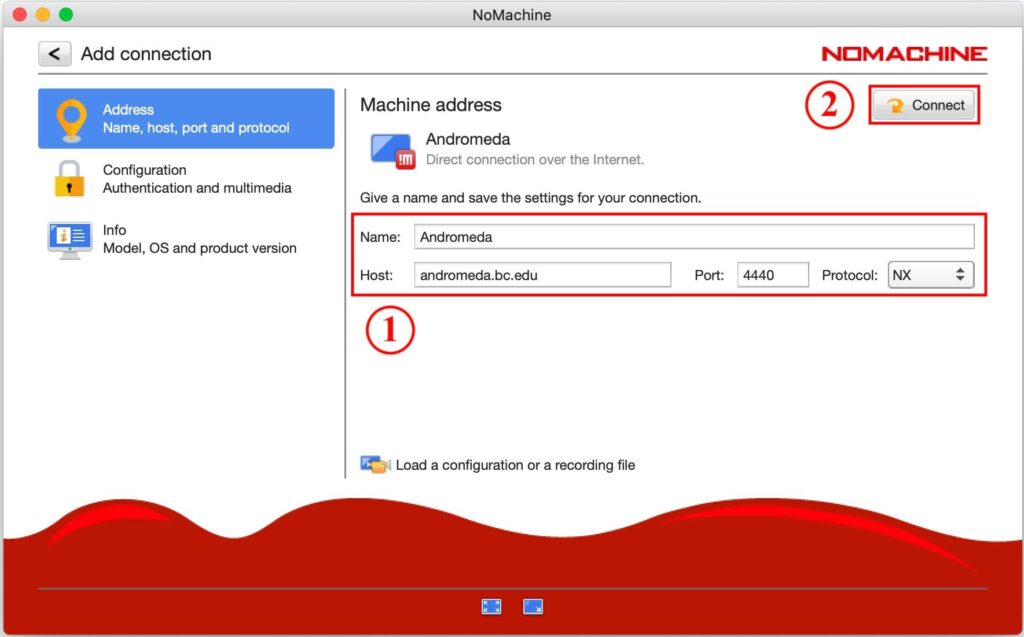
- Enter ‘Name’ (can be anything you want, we use Andromeda here), ‘Host’ (andromeda.bc.edu), and ‘Port’ (4440) as shown below. Then click the ‘Connect’ button.
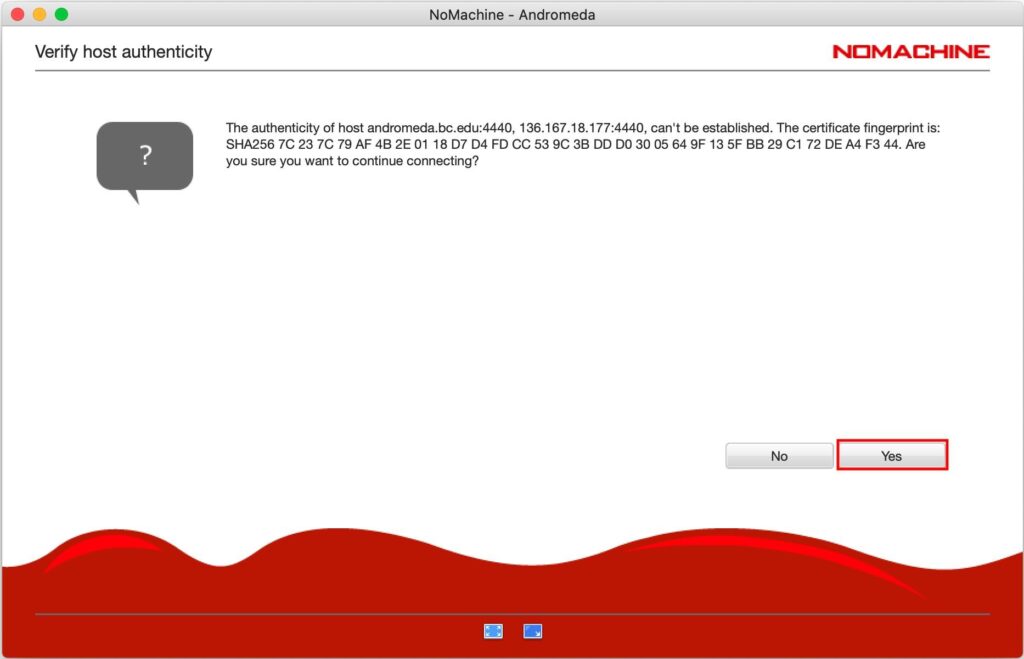
- For the first-time connection, the ssh keys will be set up. Click ‘Yes’ when being asked to verify the host authenticity.
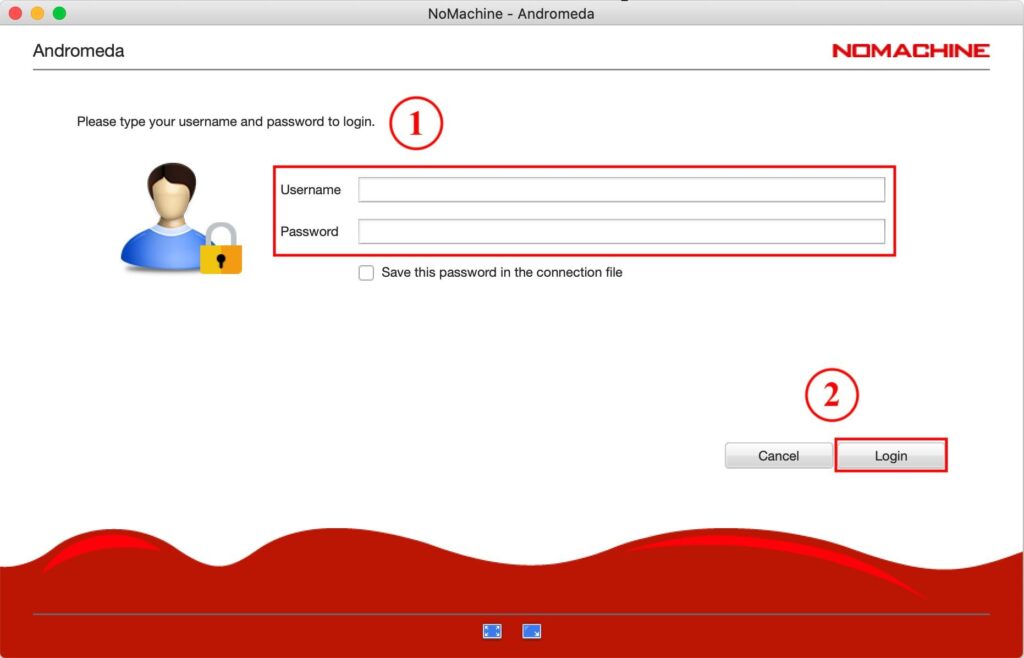
- Enter your Andromeda username and password. Then click ‘Login’. If you do not have an account, check the ‘Request a New Linux Cluster Account’ section on the university Linux Cluster page. You may save the password if you want. DO NOT save your password on a public computer.
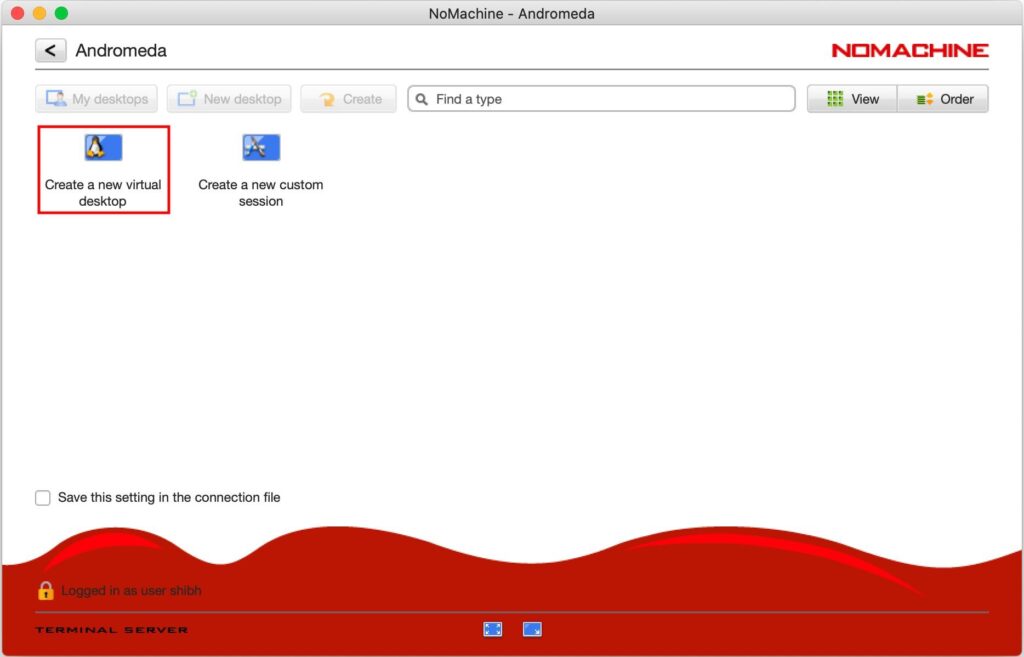
- Double click ‘Create a new virtual desktop’.
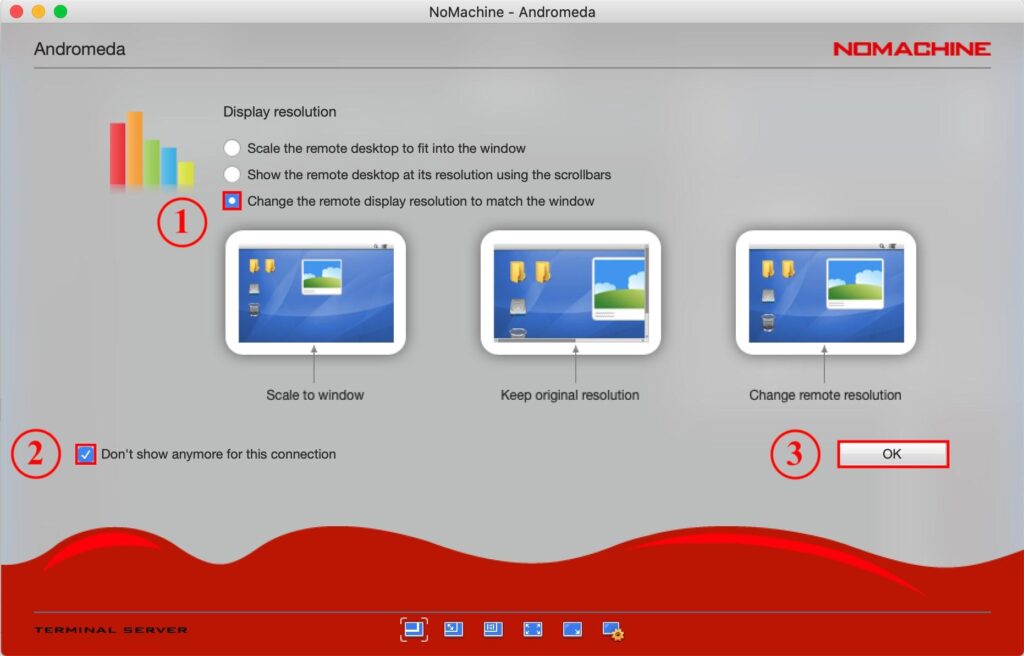
- Select ‘Change the remote display resolution to match the window’, then ‘Don’t show anymore for this connection’, and after that click ‘OK’.
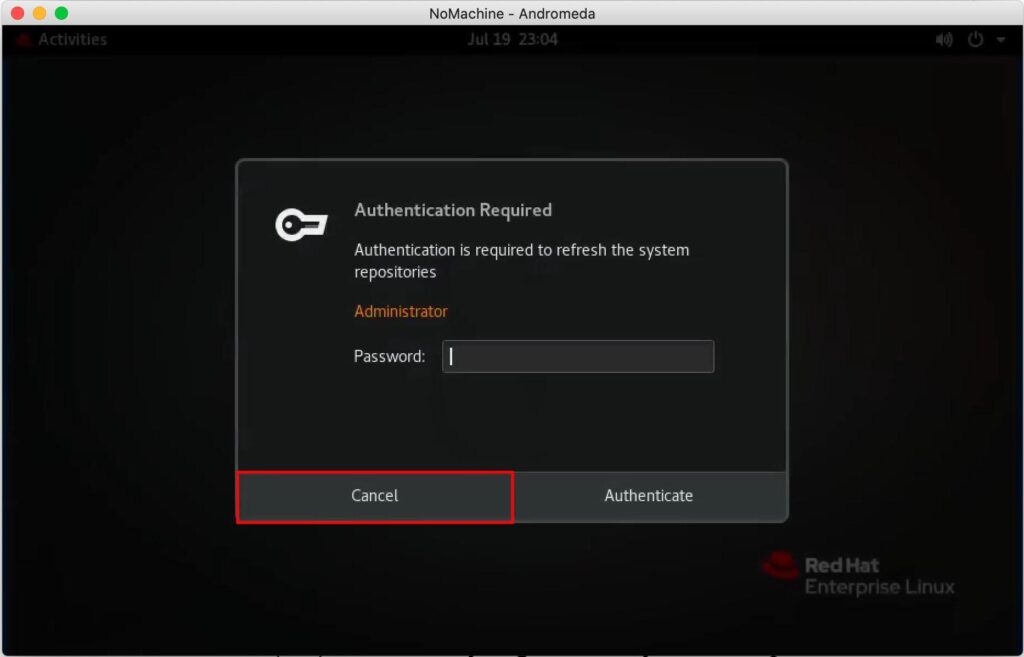
- Sometimes there may come a window asking for administrator password to refresh system repositories, click ‘Cancel’ to enter the virtual desktop on Andromeda.
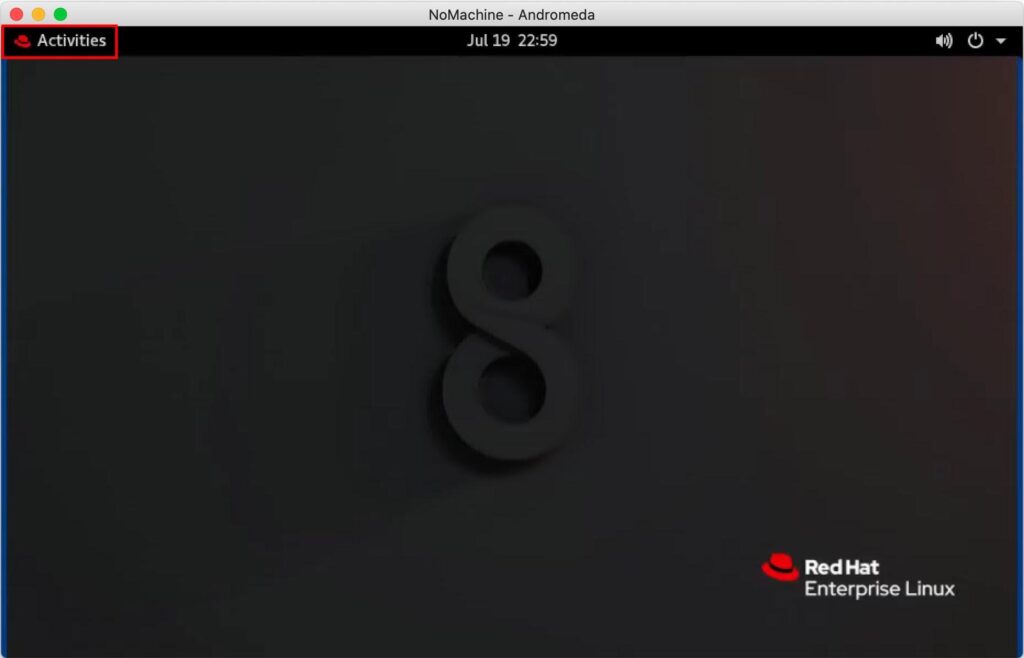
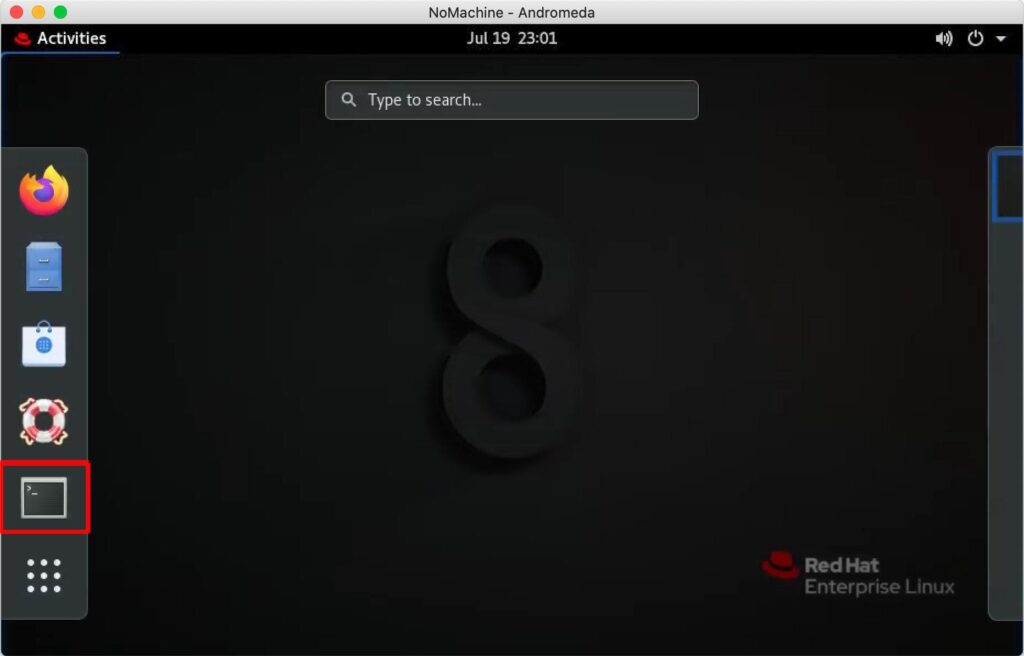
- In the virtual desktop on Andromeda, click ‘Activities’ to view available applications.
- To open a Terminal, click on the Terminal icon in the sidebar.
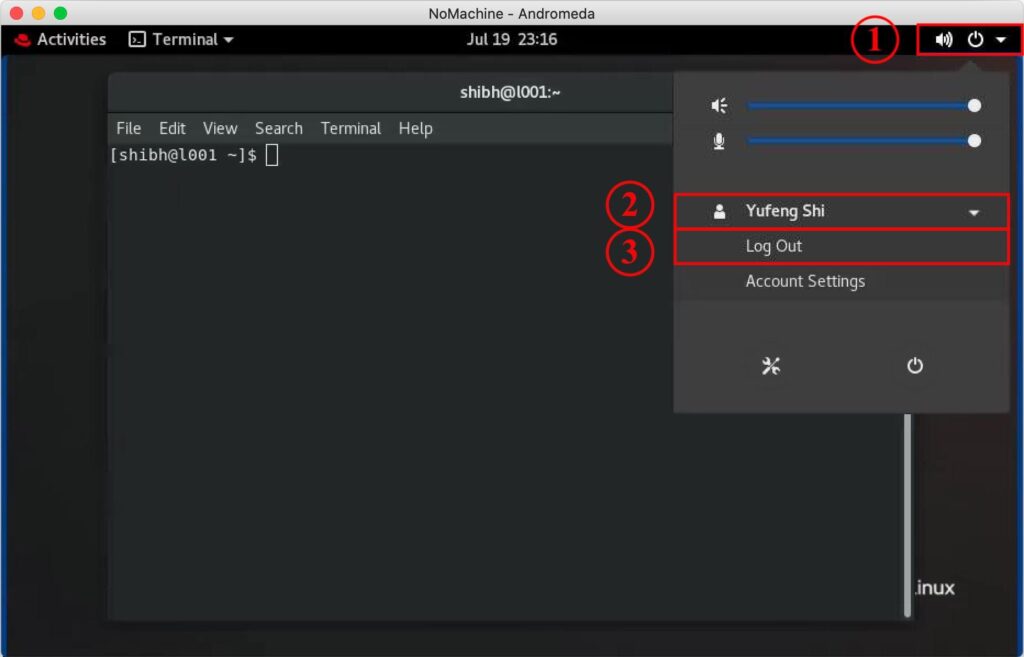
- To log out, click on the power button in the upper right corner, then your name, then on ‘LogOut’.
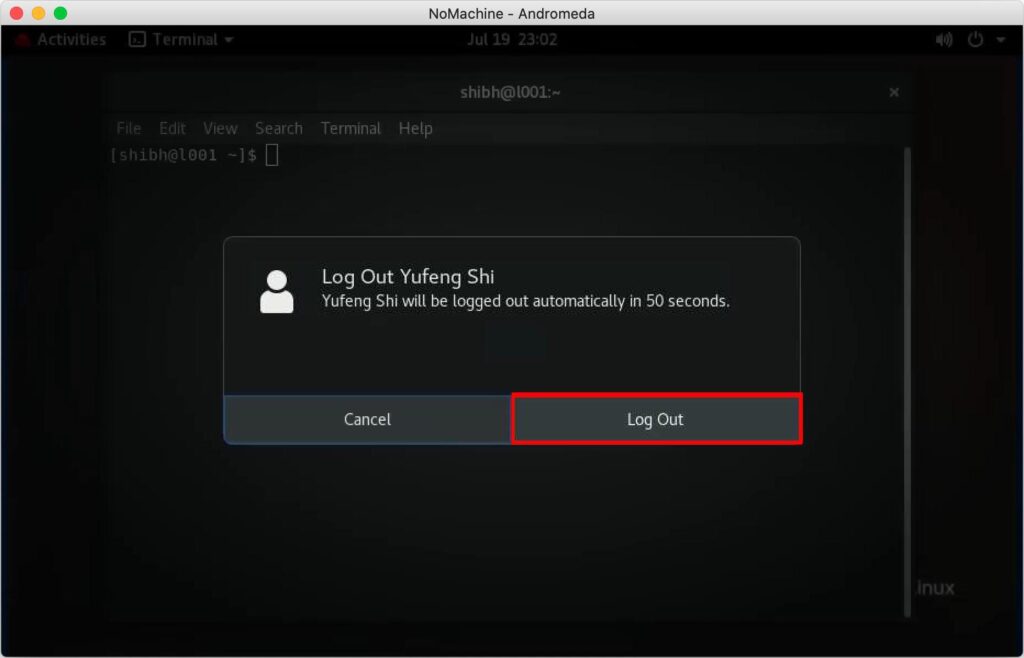
- Click “Log Out” to go back to the main menu.
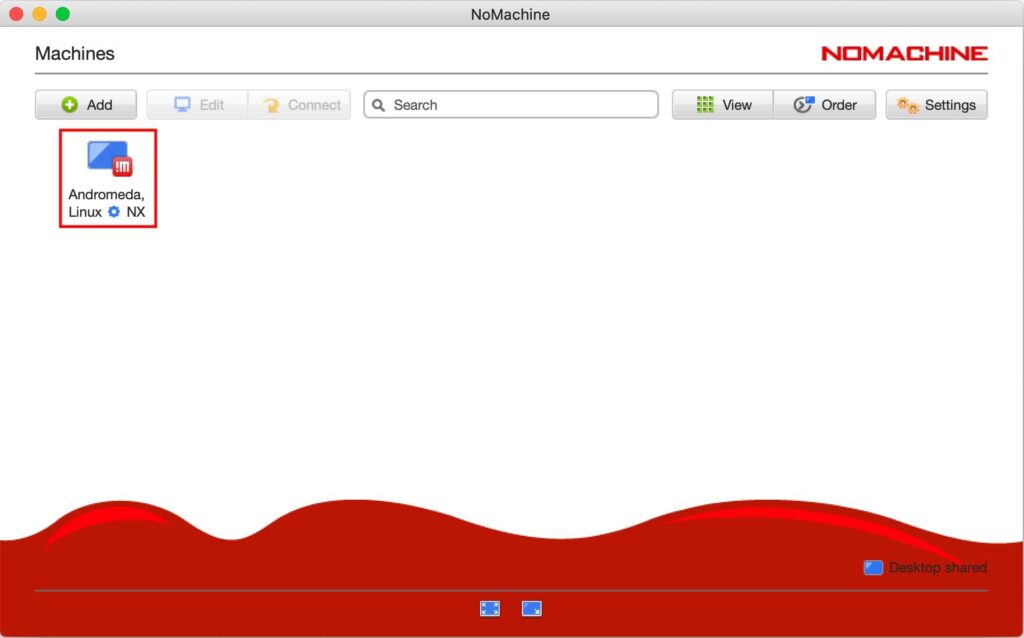
- After the first-time connection, NoMachine will remember the connection settings. Click the Andromeda icon in the main menu to start another connection. This time you will start from step 5 (enter your Andromeda username and password).
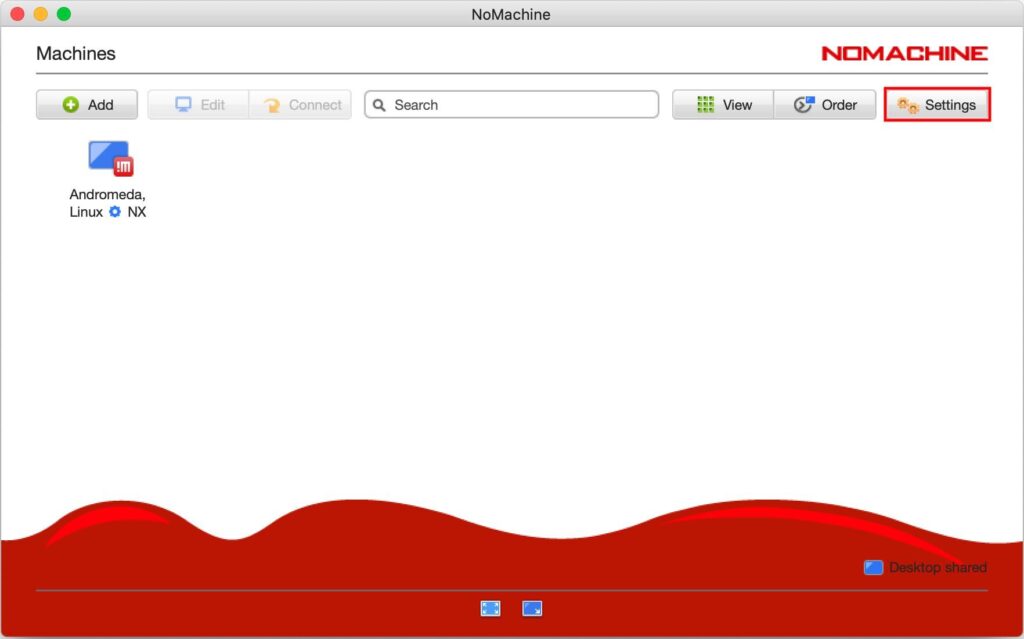
- NoMachine, by default, will start a server to allow connections to your computer. To disable this (recommended), click on ‘Settings’ in the main menu.
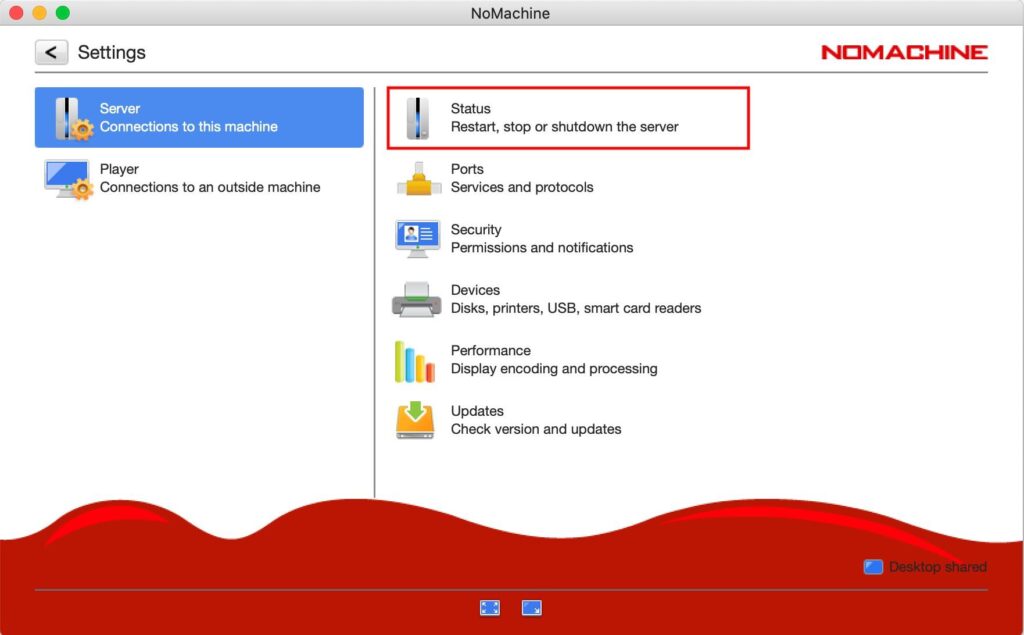
- Then click on ‘Status’.
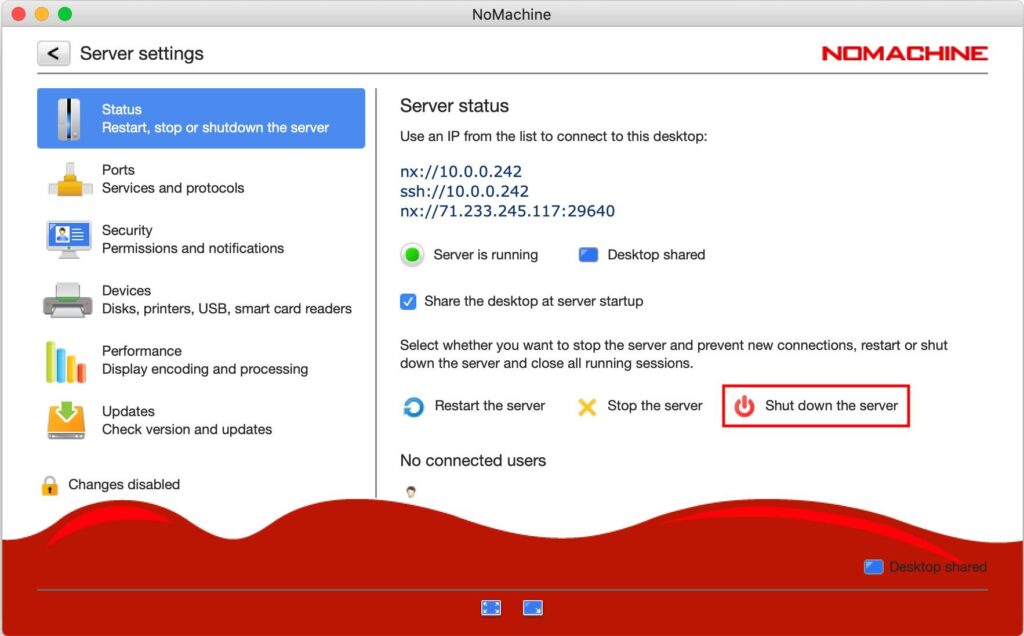
- After that, click on ‘Shut down the server’.
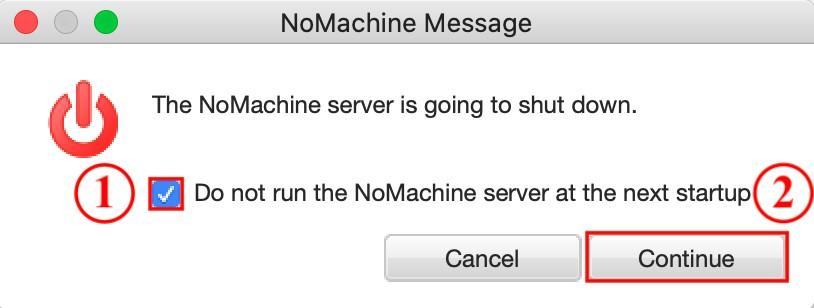
- Select ‘Do not run NoMachine server at the next startup’, and click ‘Continue’.
You can now go back to the main menu.