Note: If you are executing code in a Jupyter Notebook inside VS Code, this will be executed on the login node. VS Code is therefore not suitable for interactive Jupyter sessions on Andromeda. For this purpose, please refer to the Jupyter on Open OnDemand documentation, where we provide instructions for starting interactive notebook sessions directly in the browser.
VS Code is a popular IDE and can easily be used to access files, modify code, and build projects on Andromeda using the SSH extension. Before proceeding, make sure that you can connect to Andromeda via SSH from the terminal, as outlined in the related tutorial, and ensure you are either on campus or connected via the Eagle VPN.
- Download VS Code
You can download VS Code from its website: https://code.visualstudio.com/.
Make sure you can open VS Code on your personal laptop/desktop before proceeding.
- Download the ‘Remote – SSH’ extension
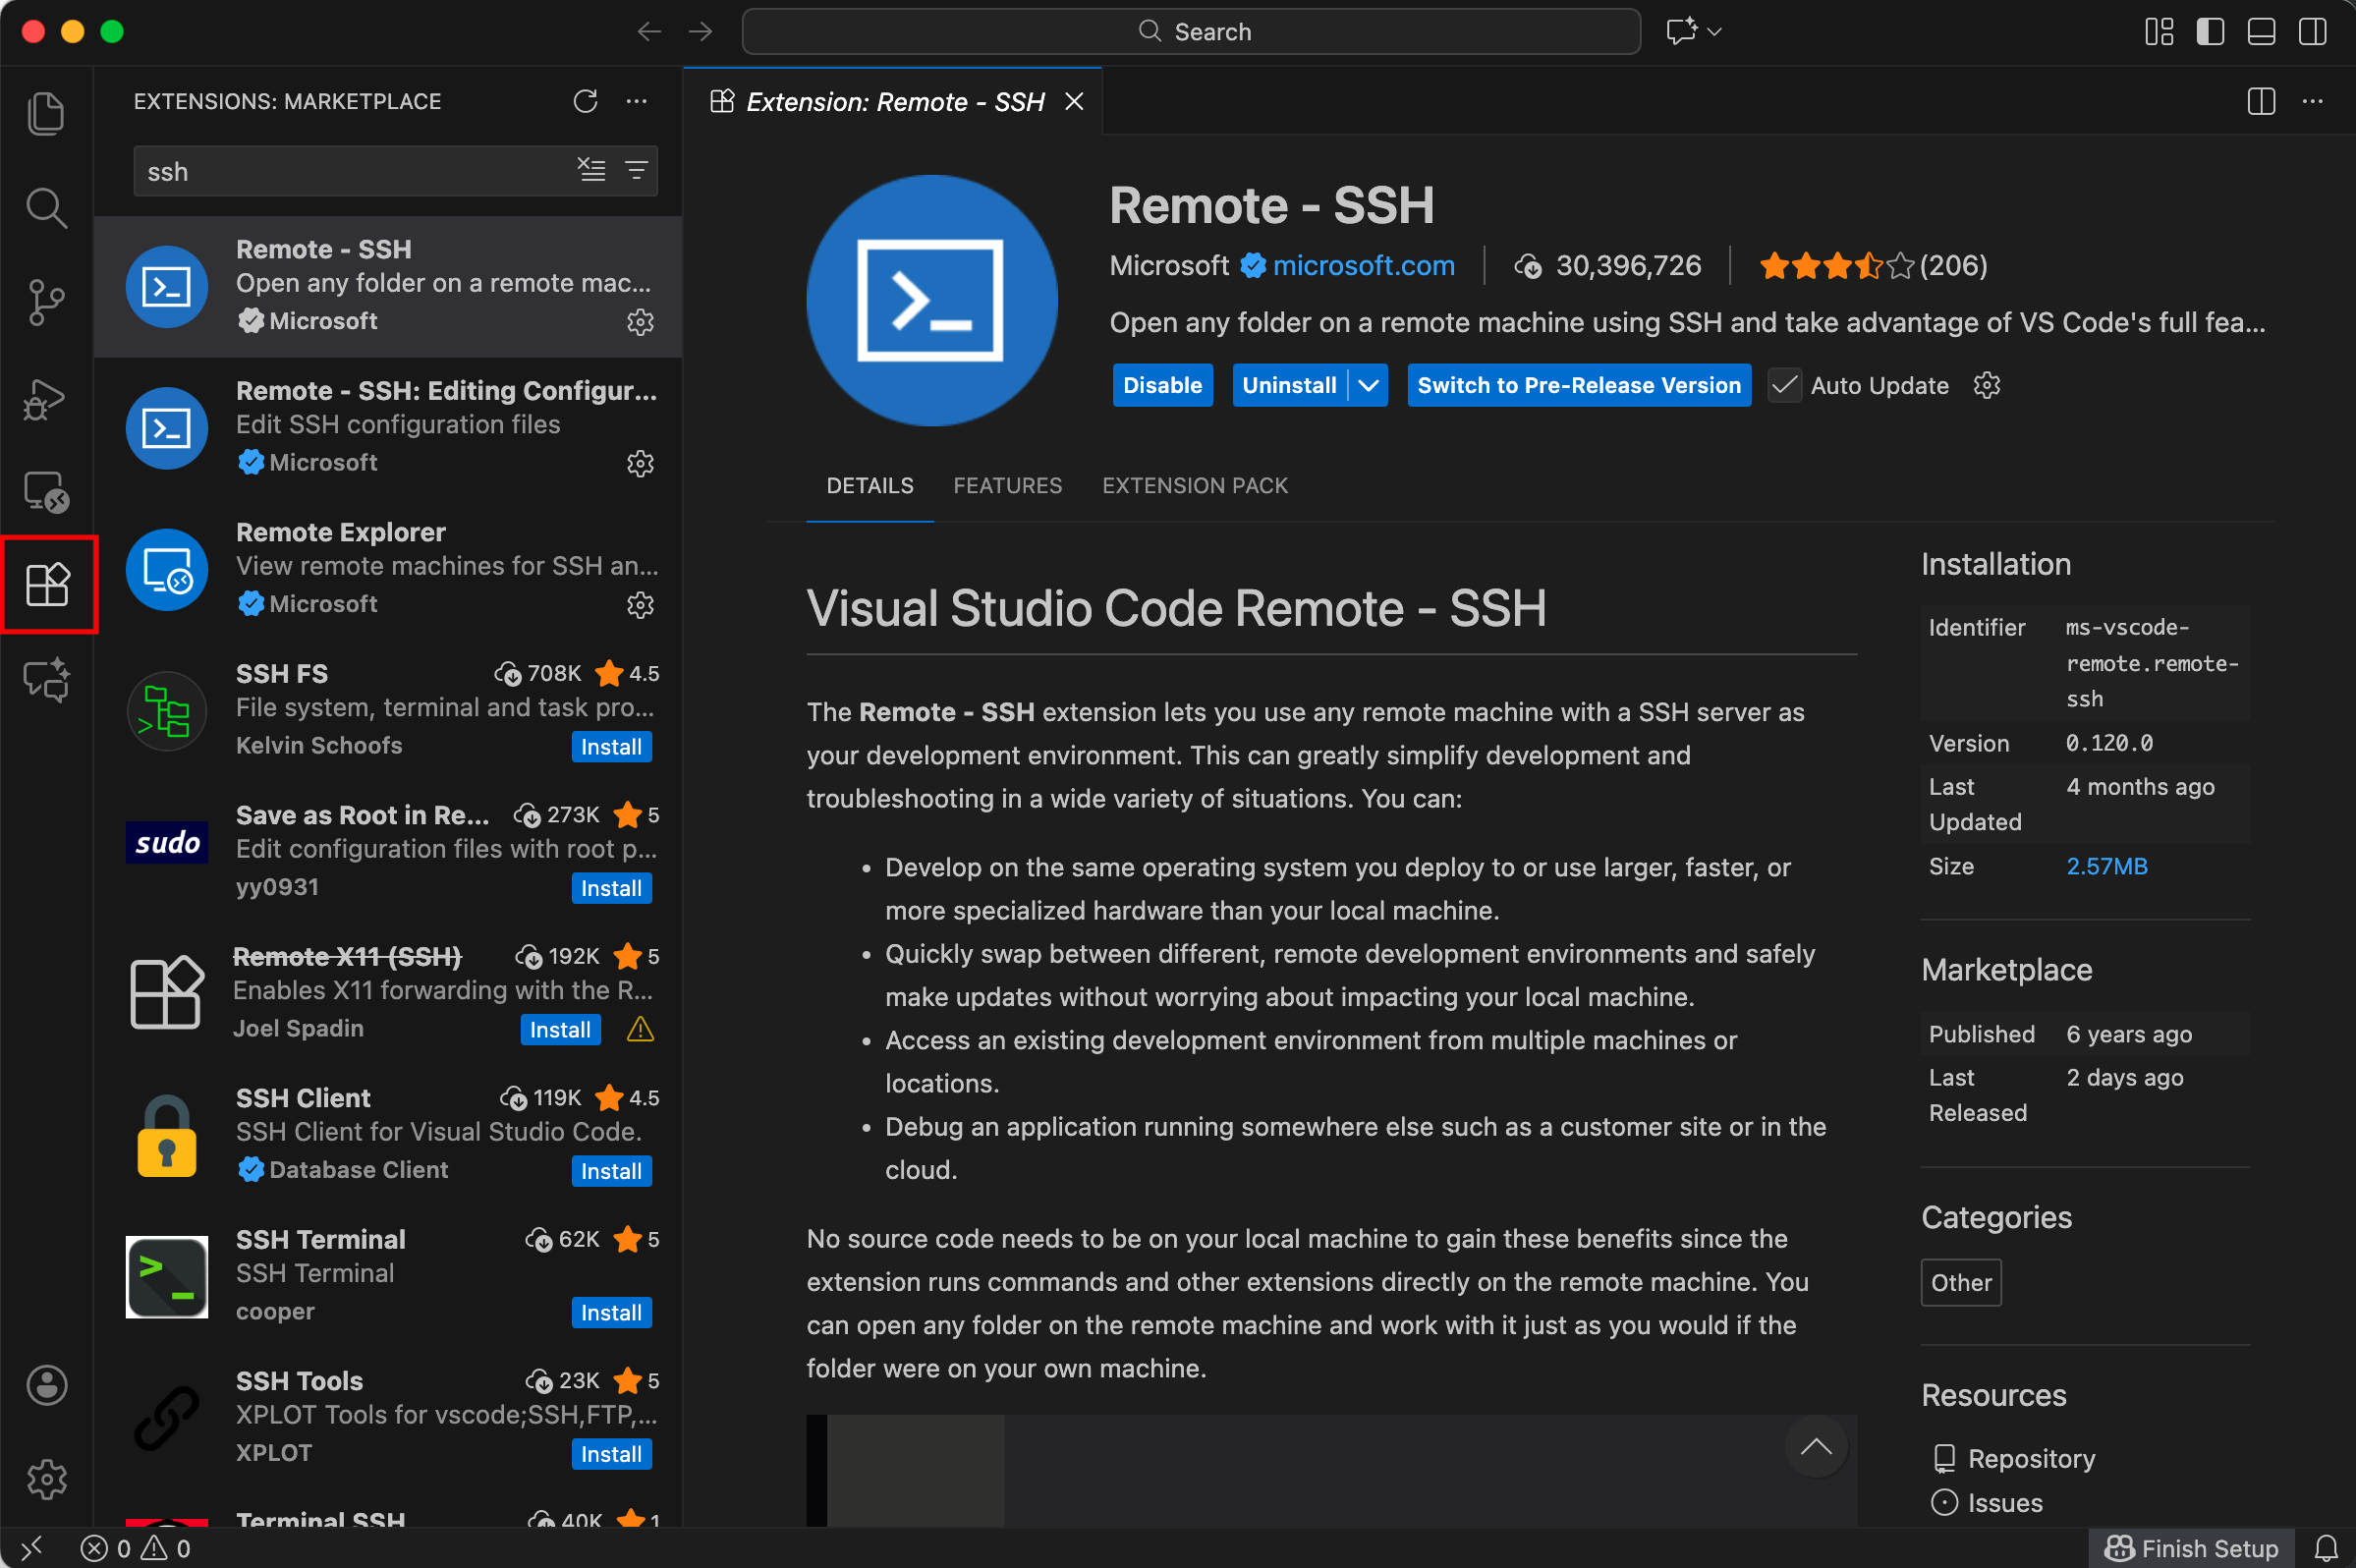
Click the Extensions tab (indicated by the red box below) to view the list of available extensions. Type ‘ssh’ into the search bar, and select ‘Remote – SSH’. Then, click ‘install’.
- Configure the extension
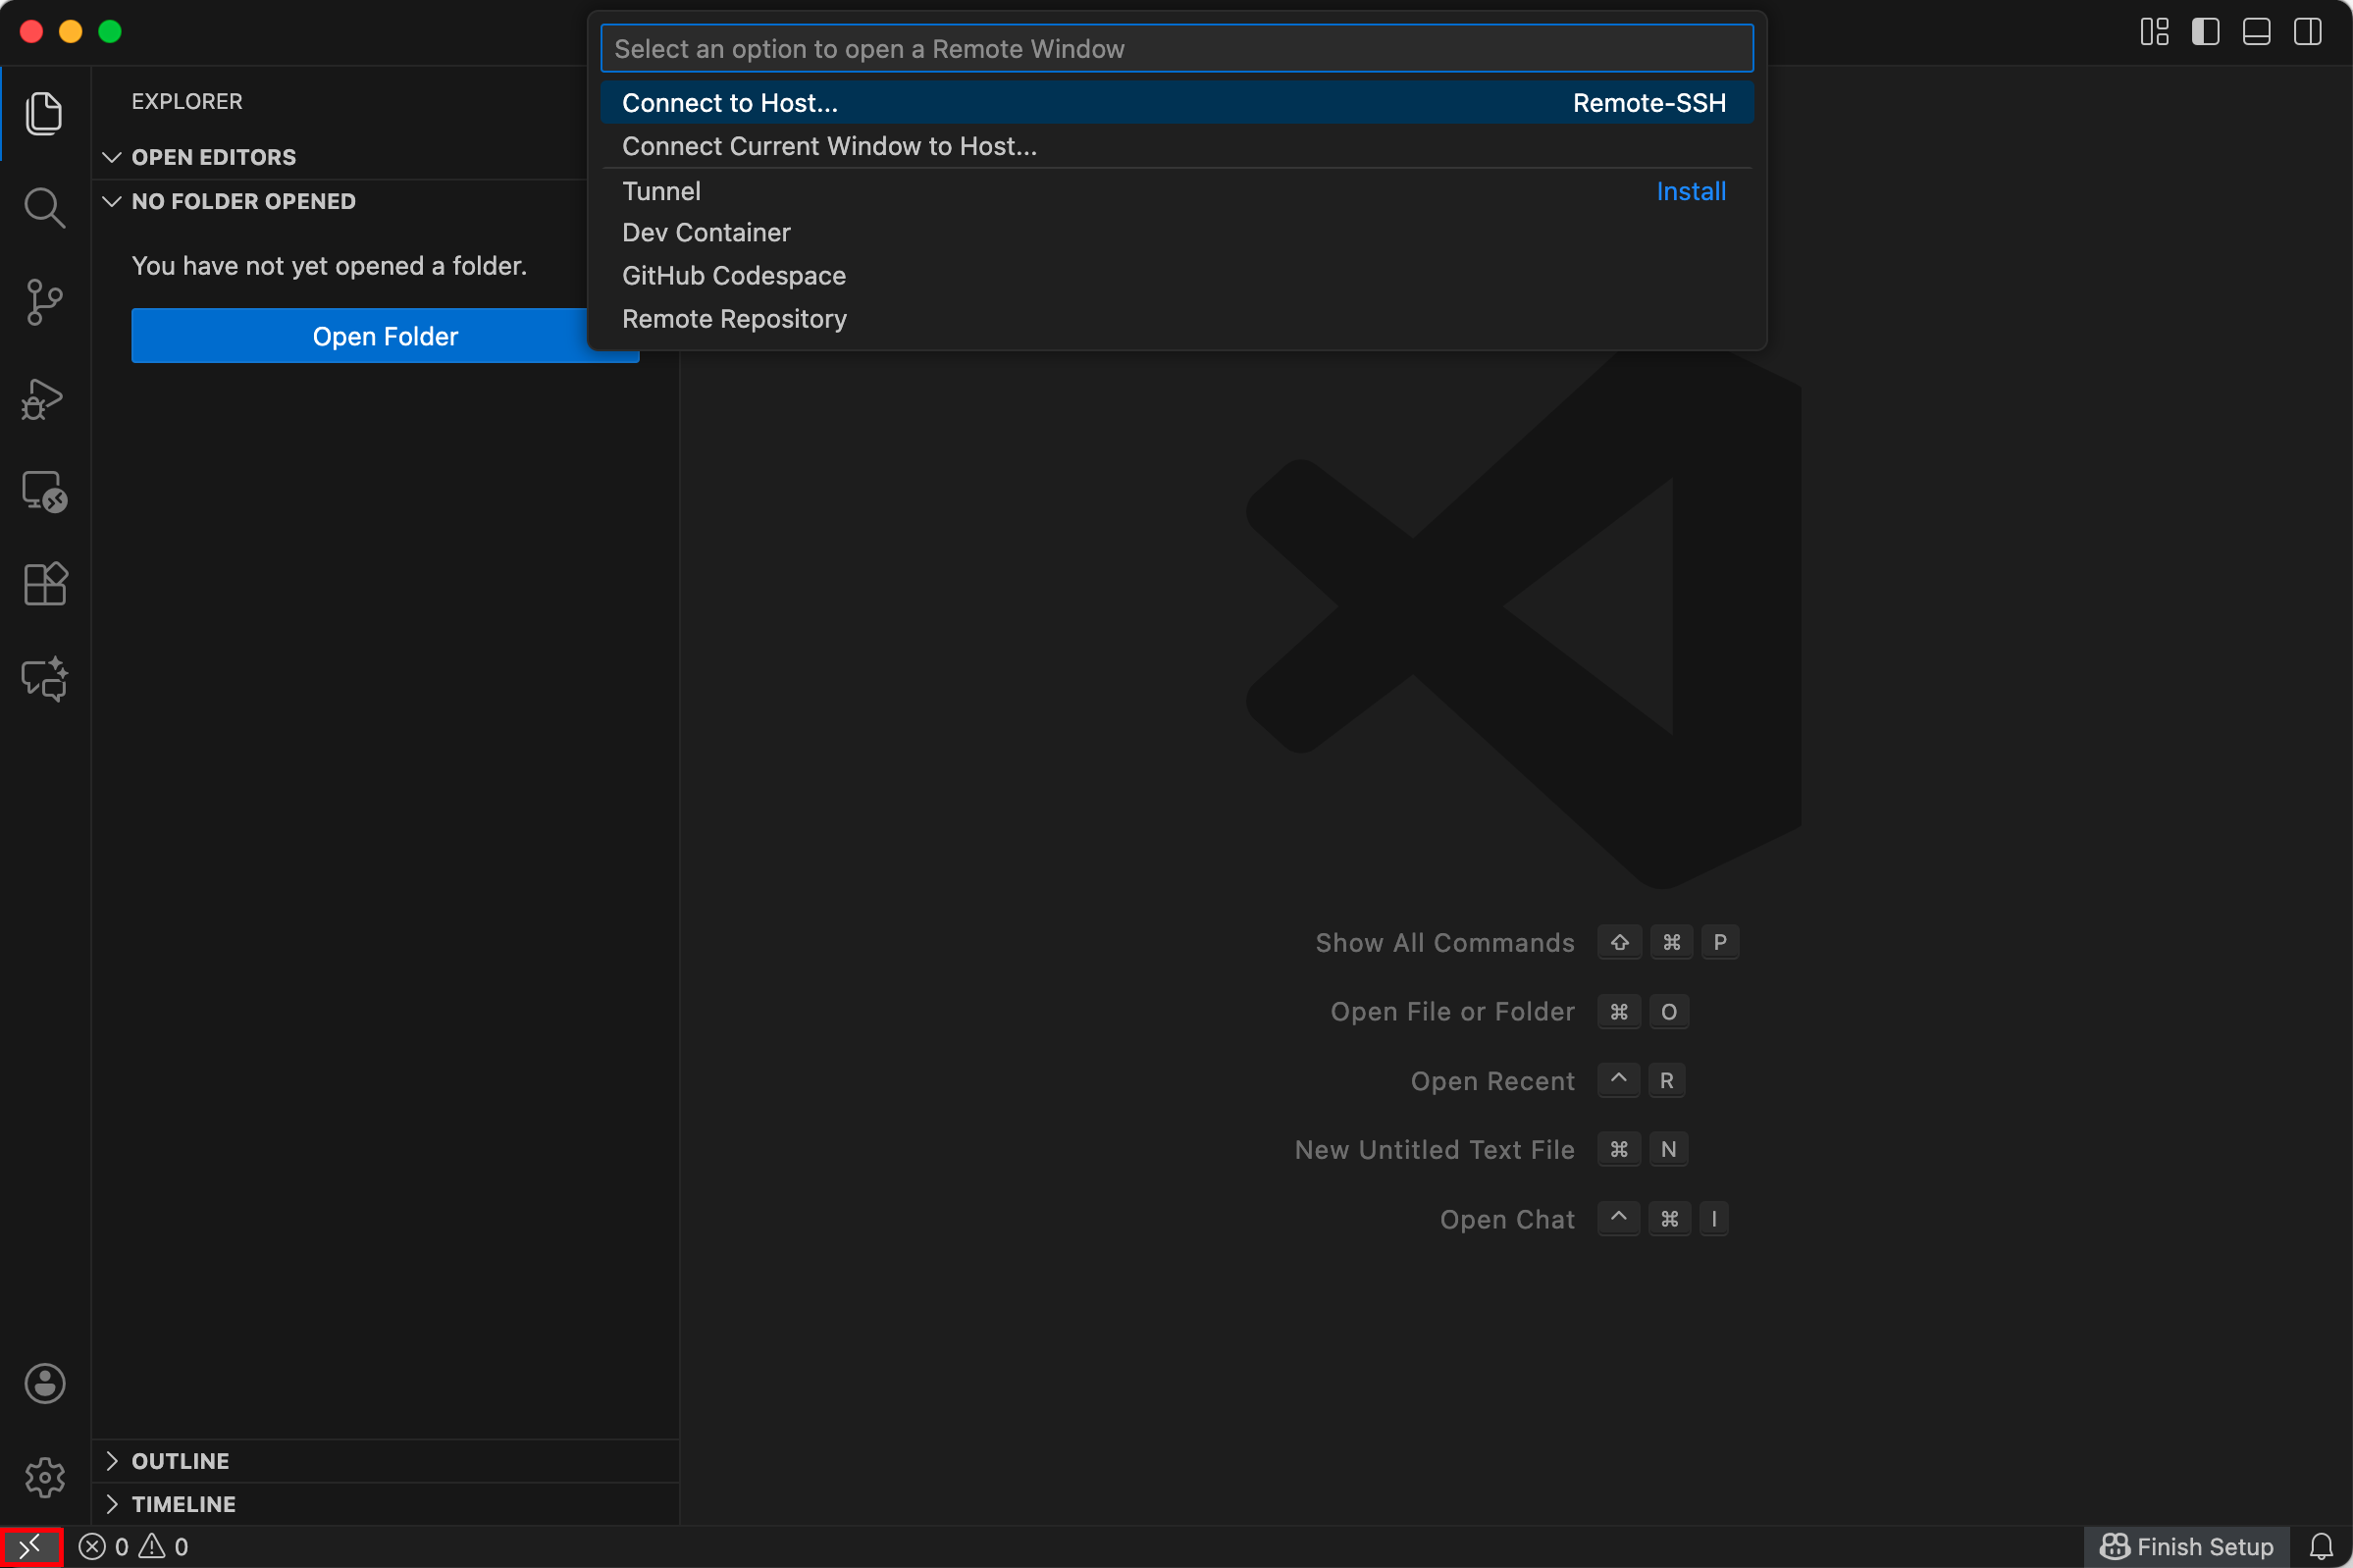
Click on the blue or gray box (indicated by the red box below) in the far bottom left corner of your screen. This will open a dialog menu; select ‘Connect to Host…’
You should now be able to add new SSH hosts and configure existing SSH hosts. Select ‘Configure SSH Hosts…’
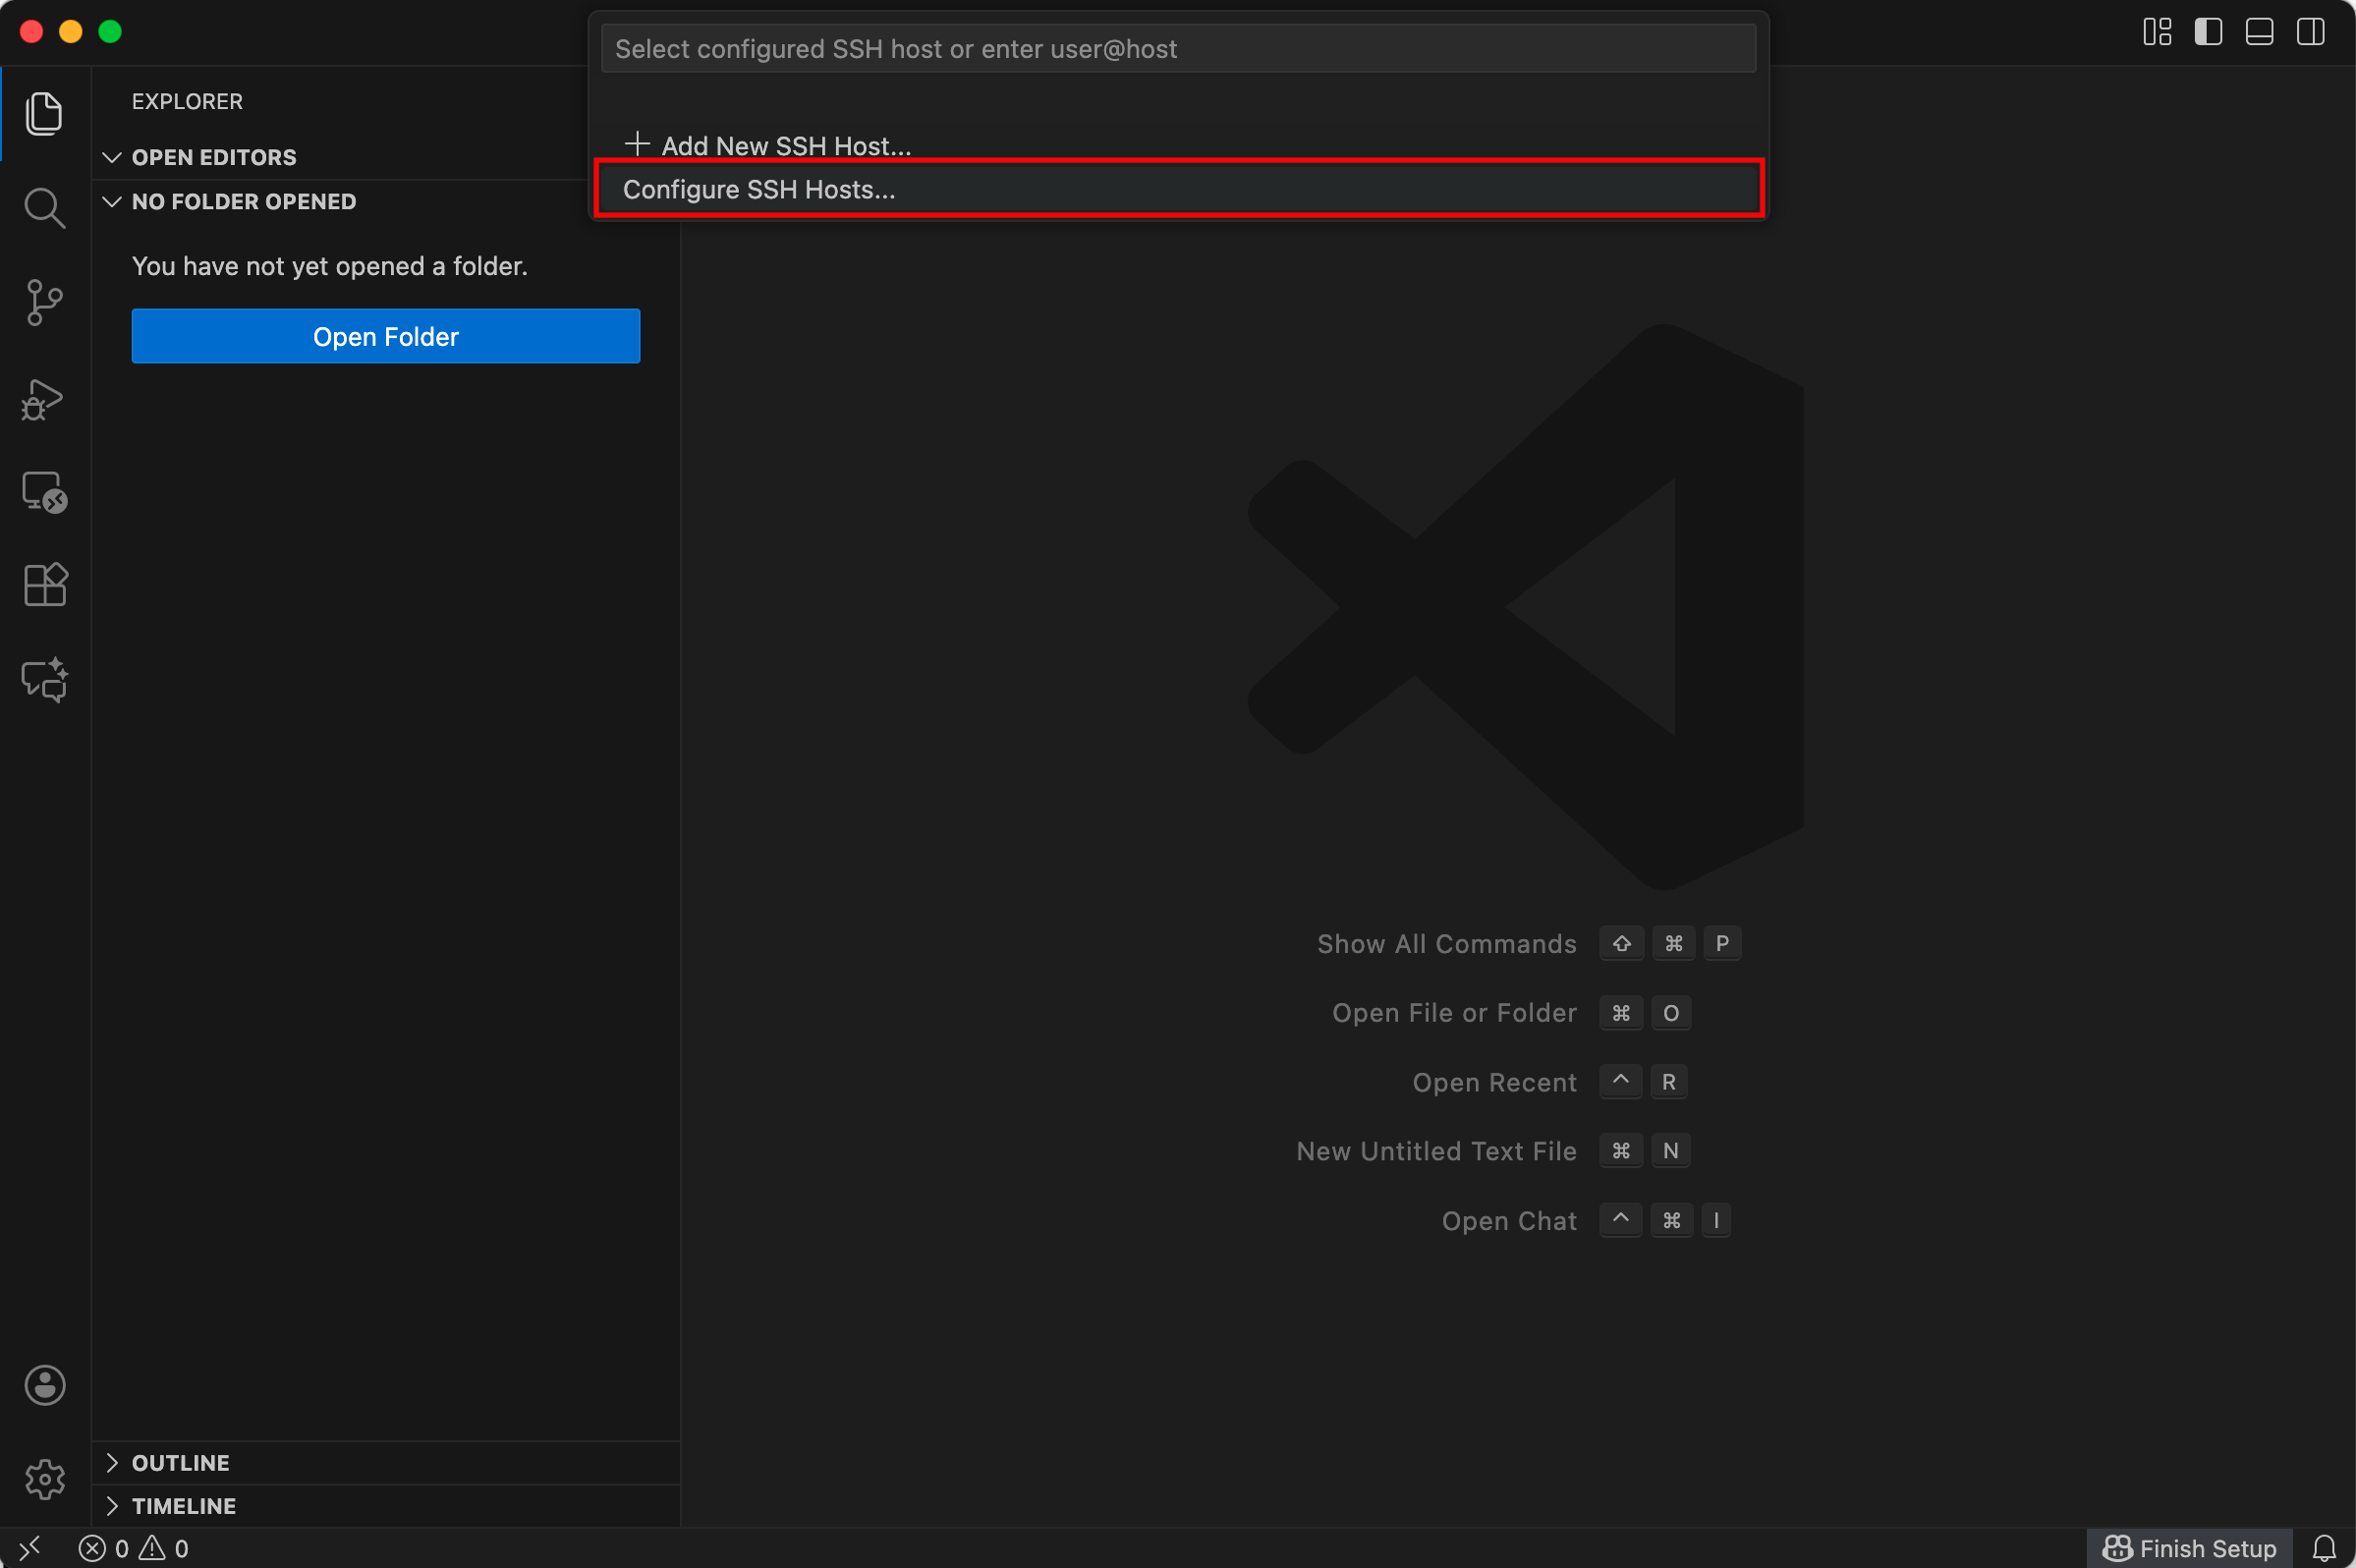
This will show a list of ssh config files. Select the first one:

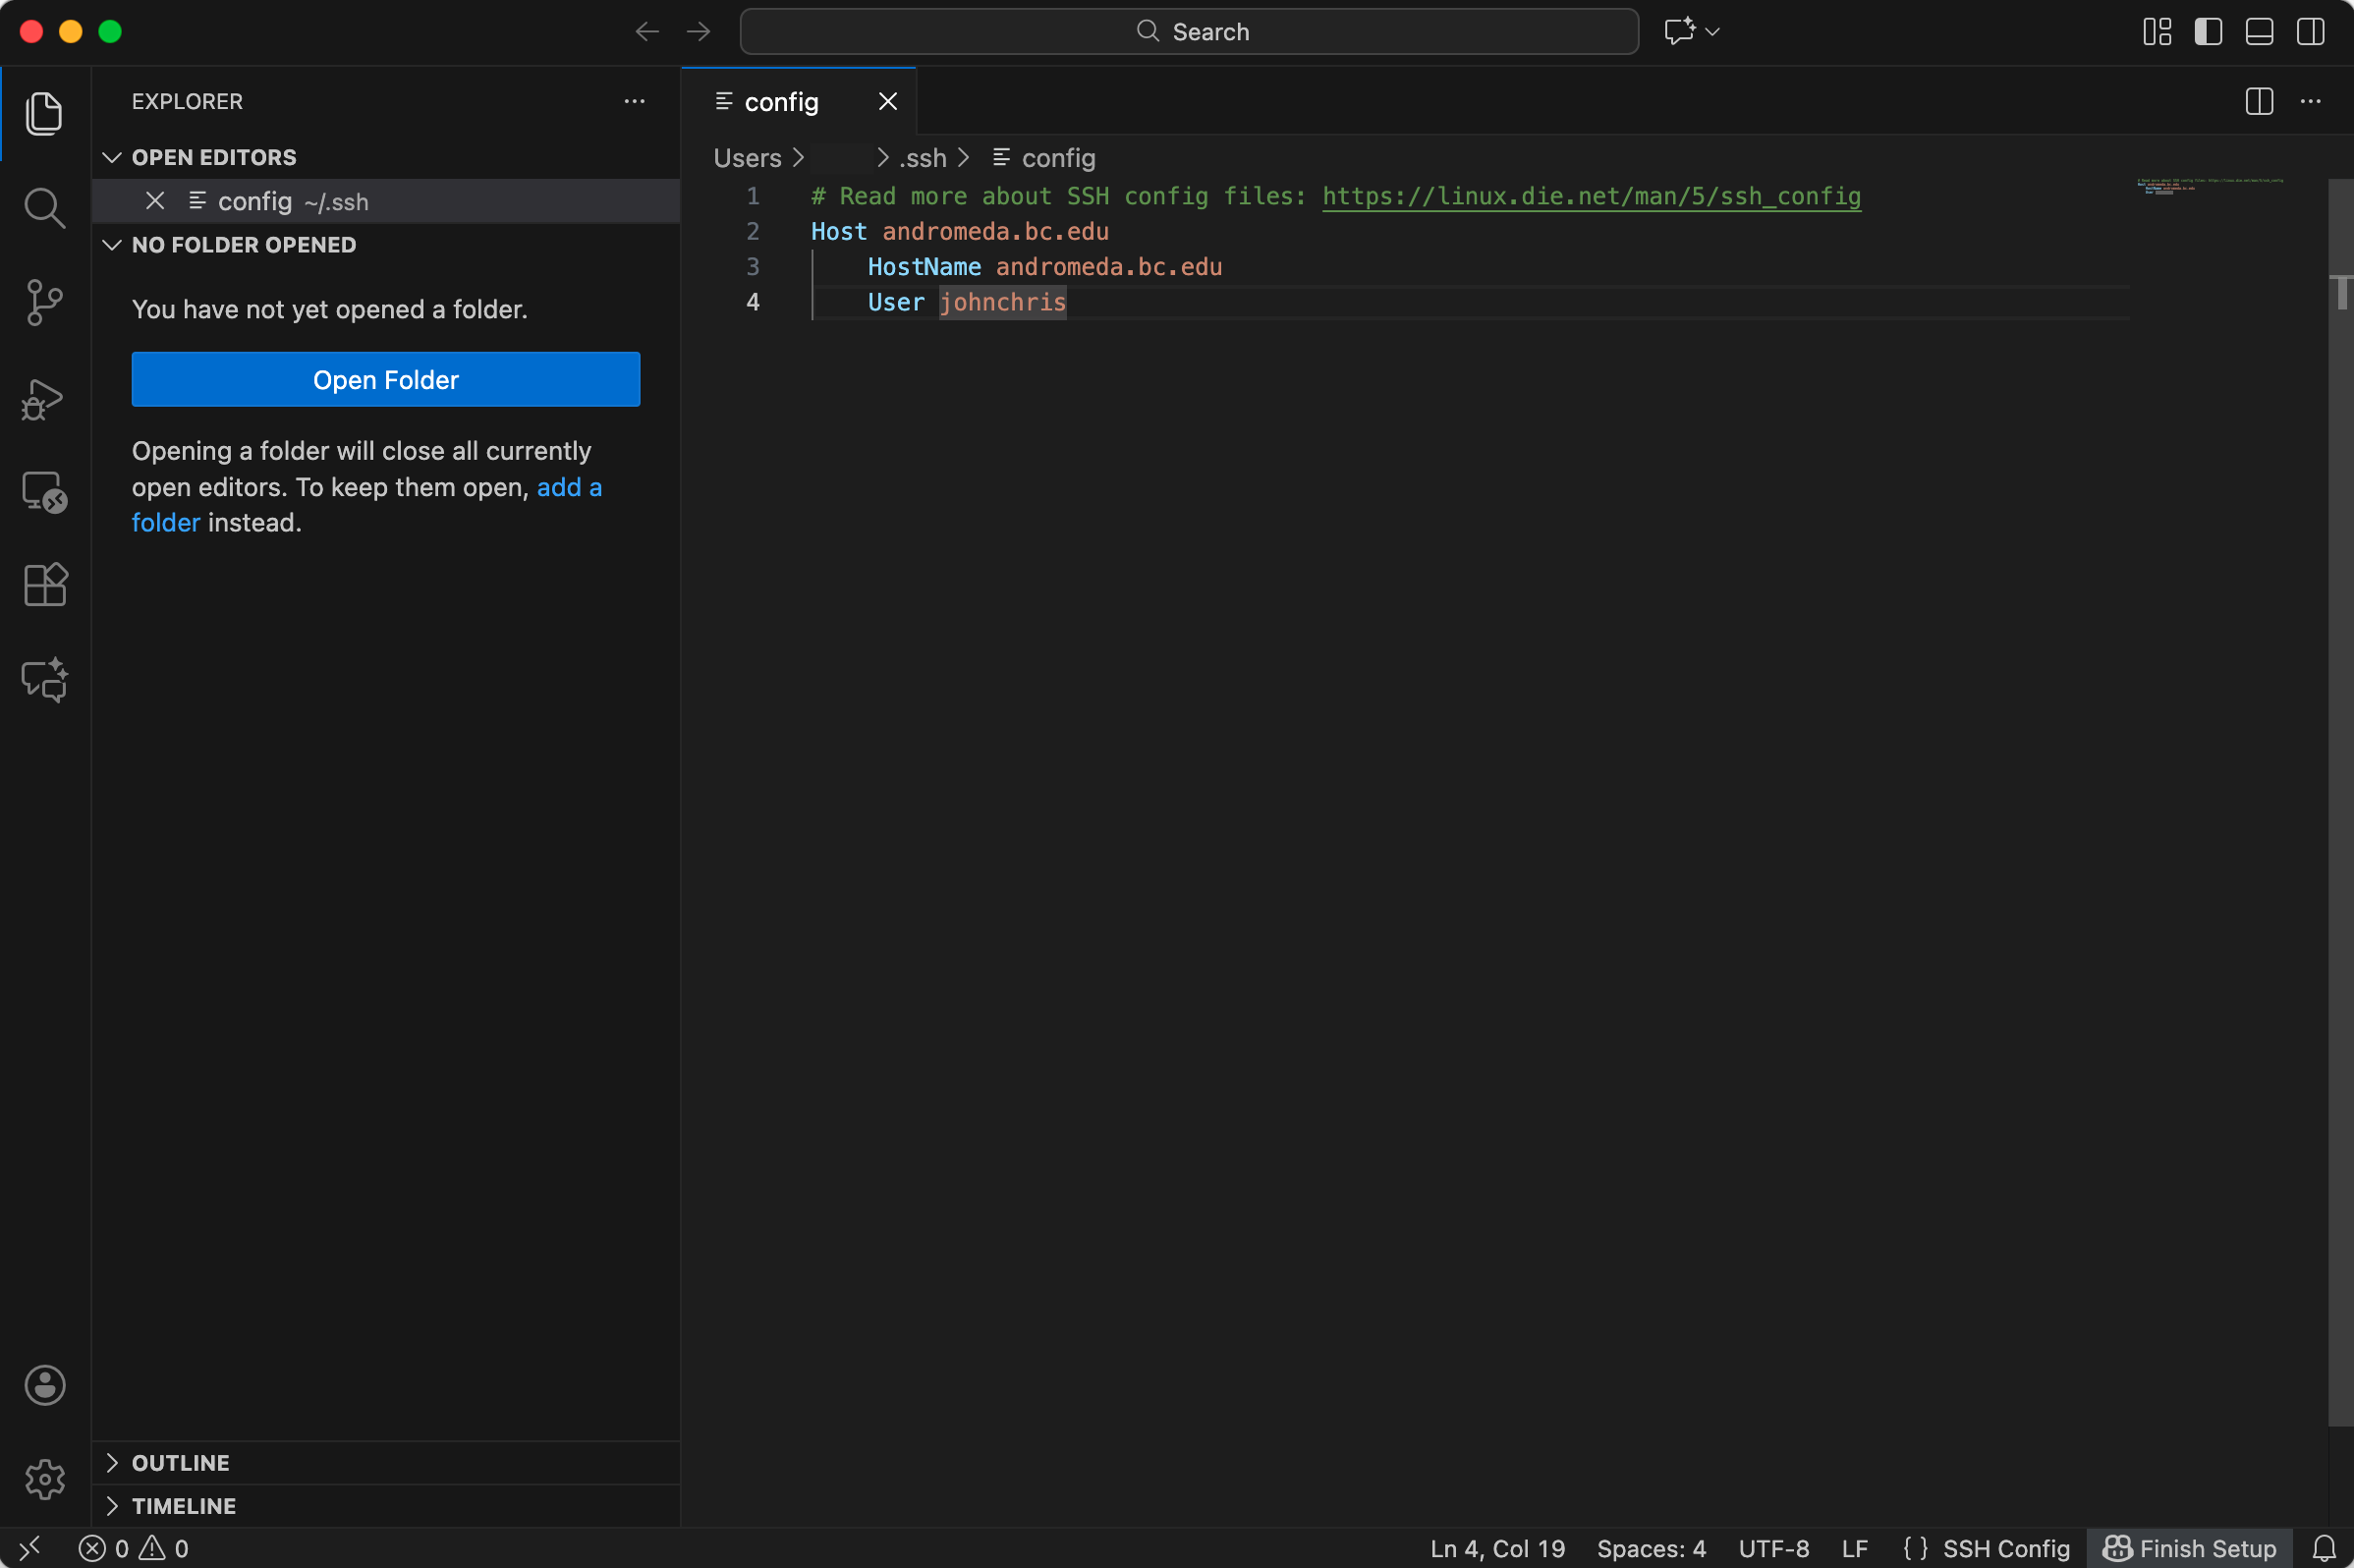
The file may be blank. Insert the following lines:
Host andromeda.bc.edu
 HostName andromeda.bc.edu
 User johnchris
Where ‘johnchris’ is replaced by your username on Andromeda. Your config should look something like this:
- Connect to Andromeda
You should now be able to connect to Andromeda. Click on the blue button in the bottom left corner (the same button at the start of step 3). Now, you should see ‘andromeda.bc.edu’ as an option in the dialogue menu.
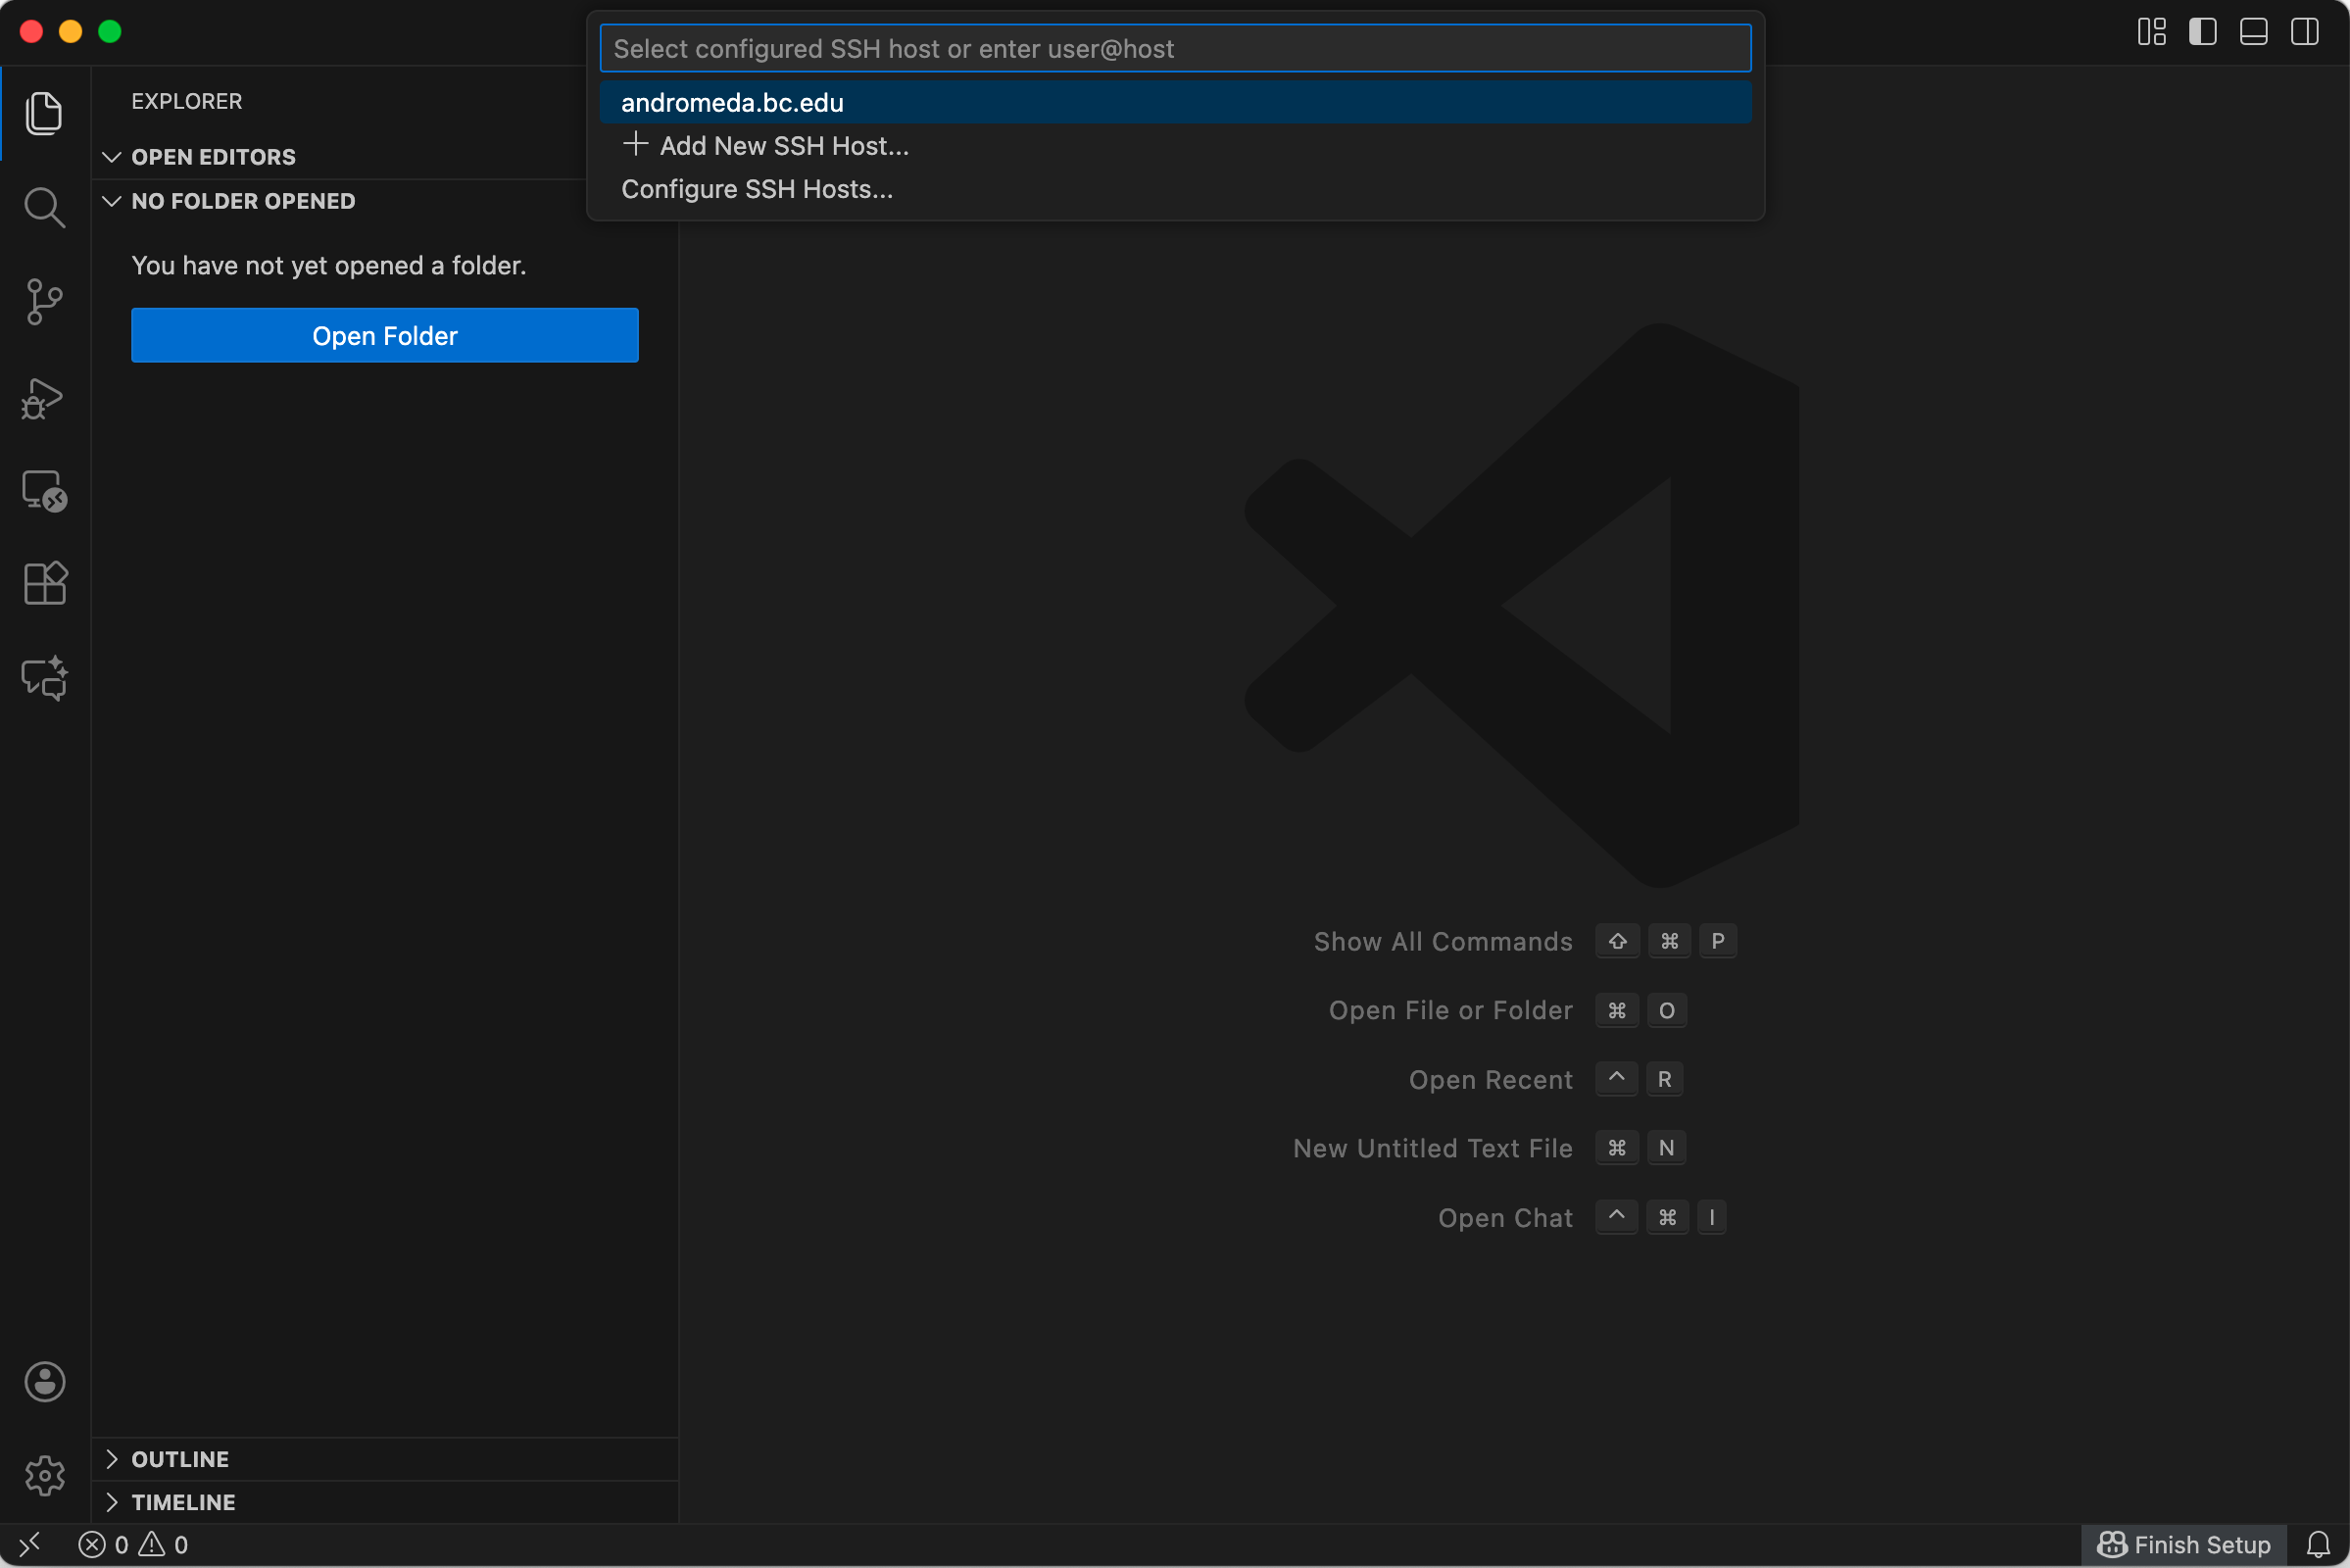
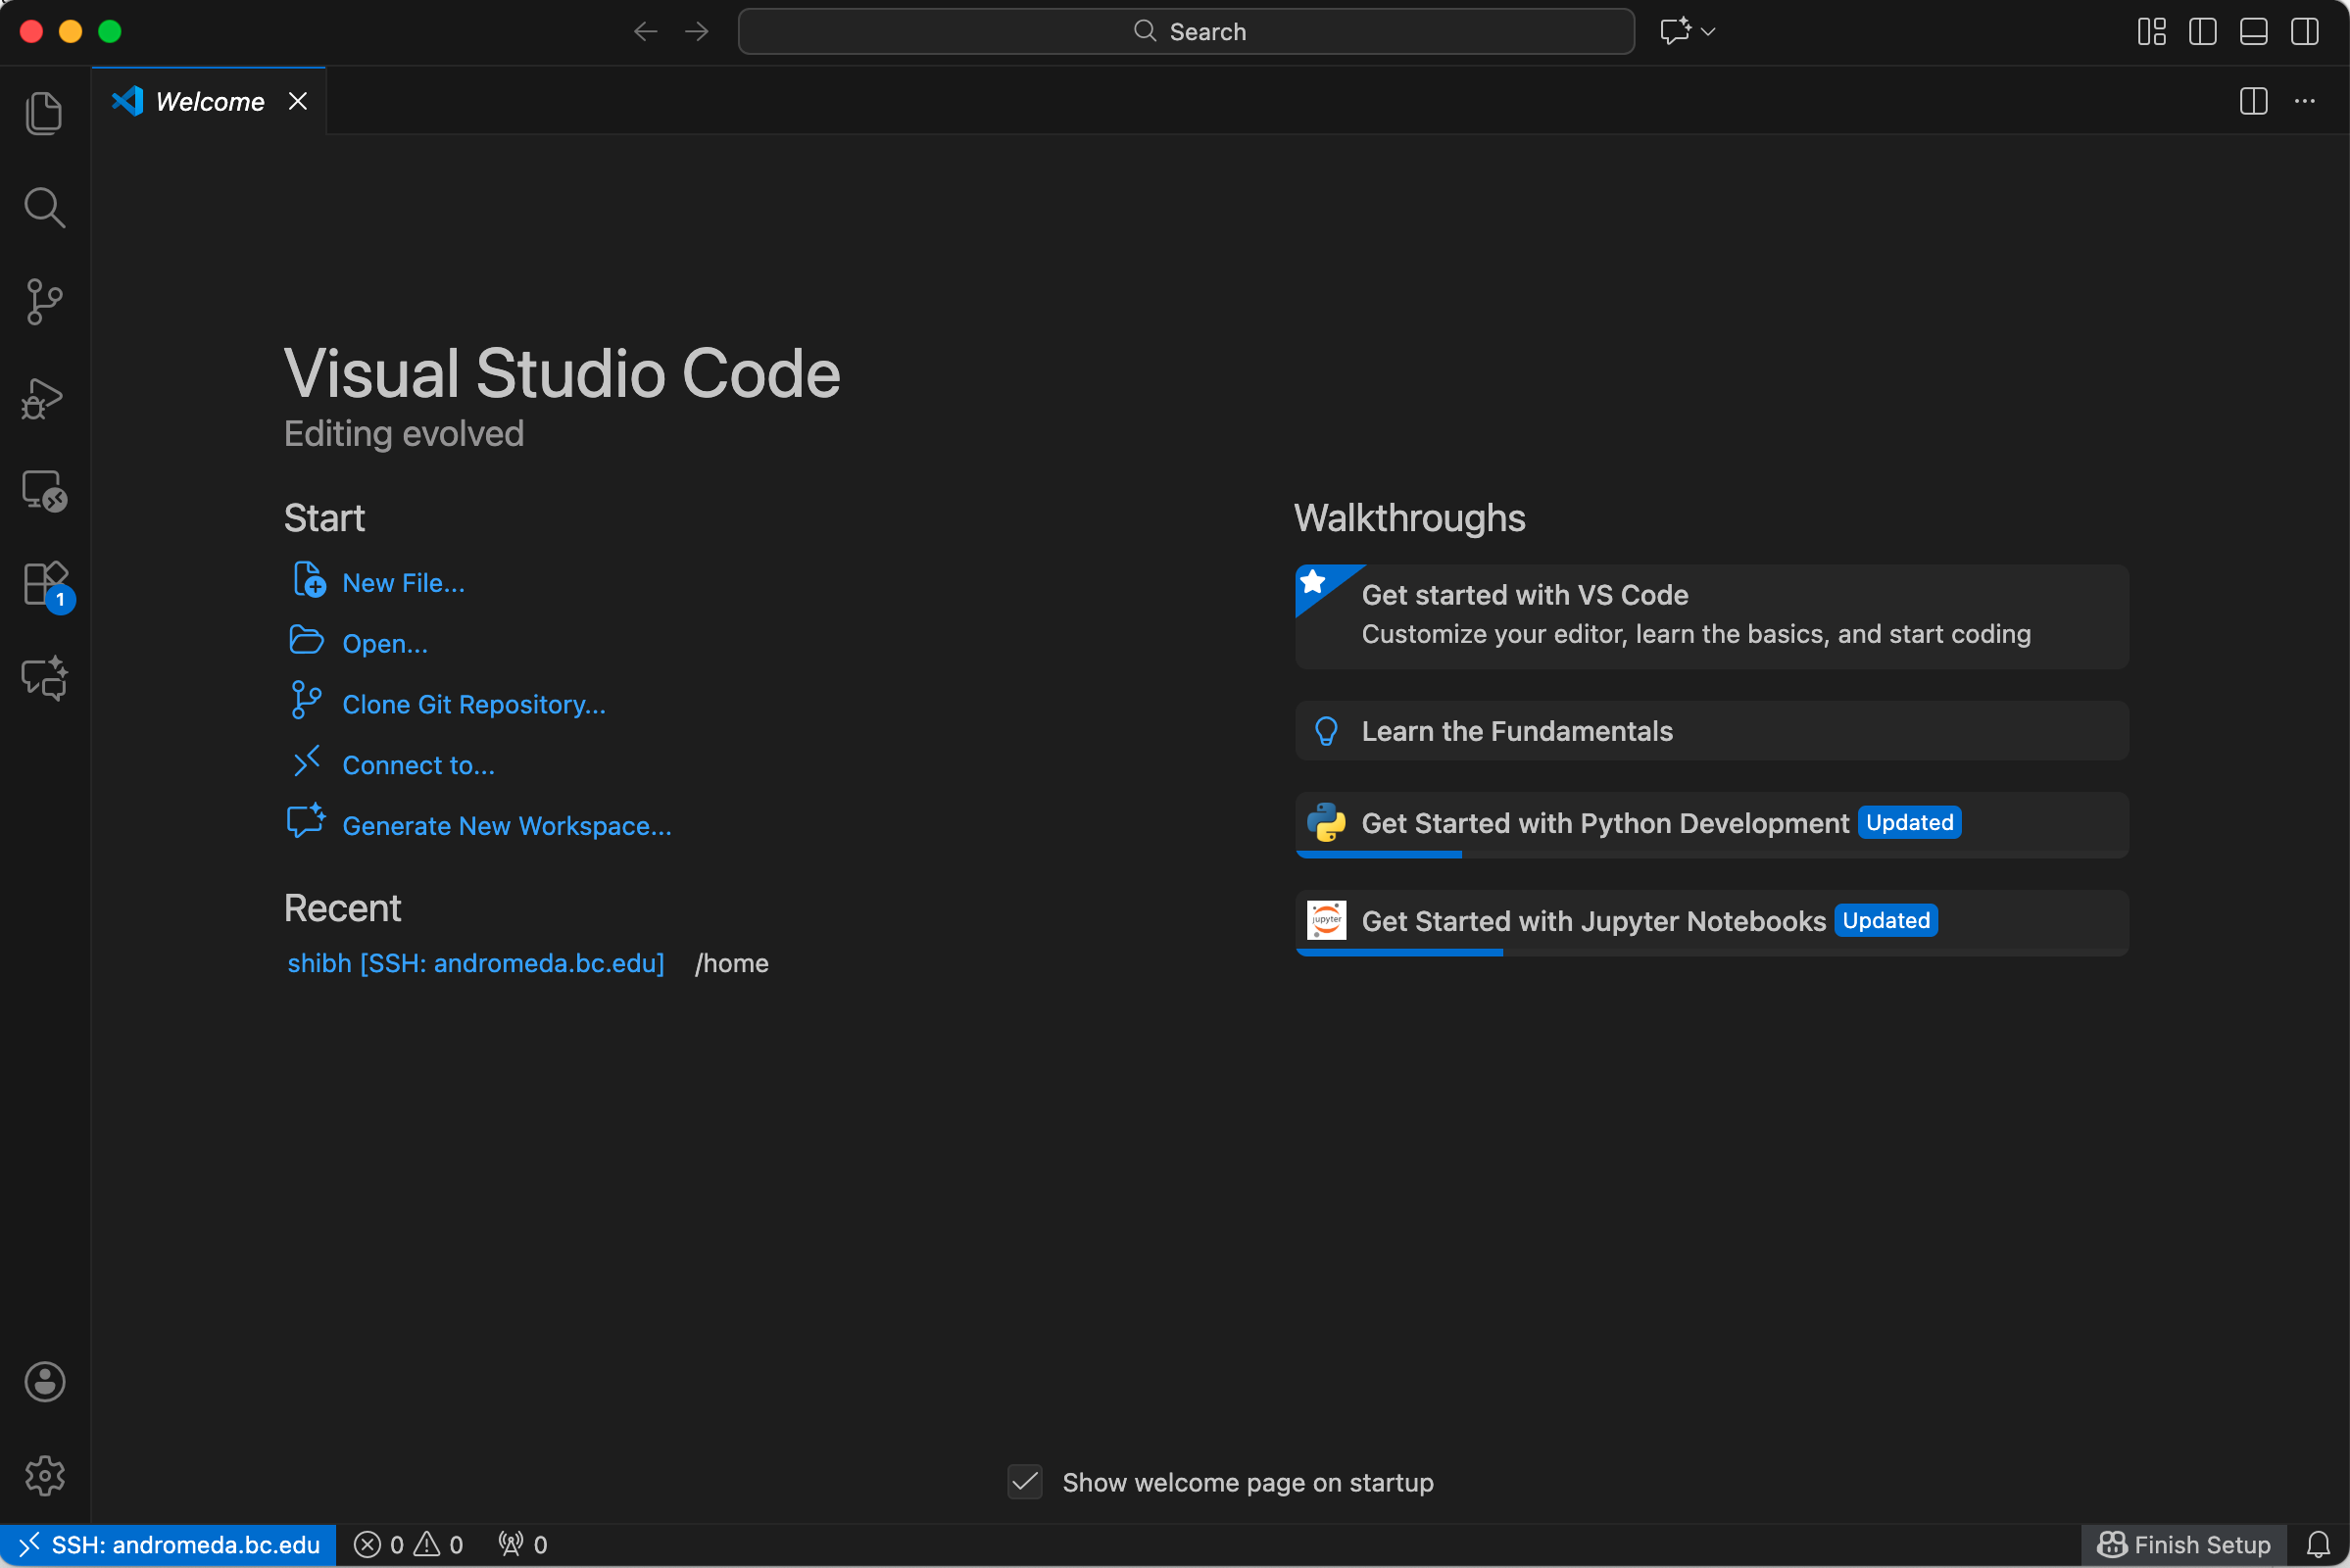
Click it, and you will be redirected to a new window and prompted for your password. Enter your password you use to sign into Andromeda, and your VS Code session will be redirected to Andromeda. You can now access your files and modify your code as if the VS Code session was running locally.
Note that by default, VS Code launches your session on the login node, so you will not have access to modules or any requested compute resources. In order to access these things, launch an interactive session through the integrated terminal (go to VS Code taskbar: Terminal -> New Terminal).
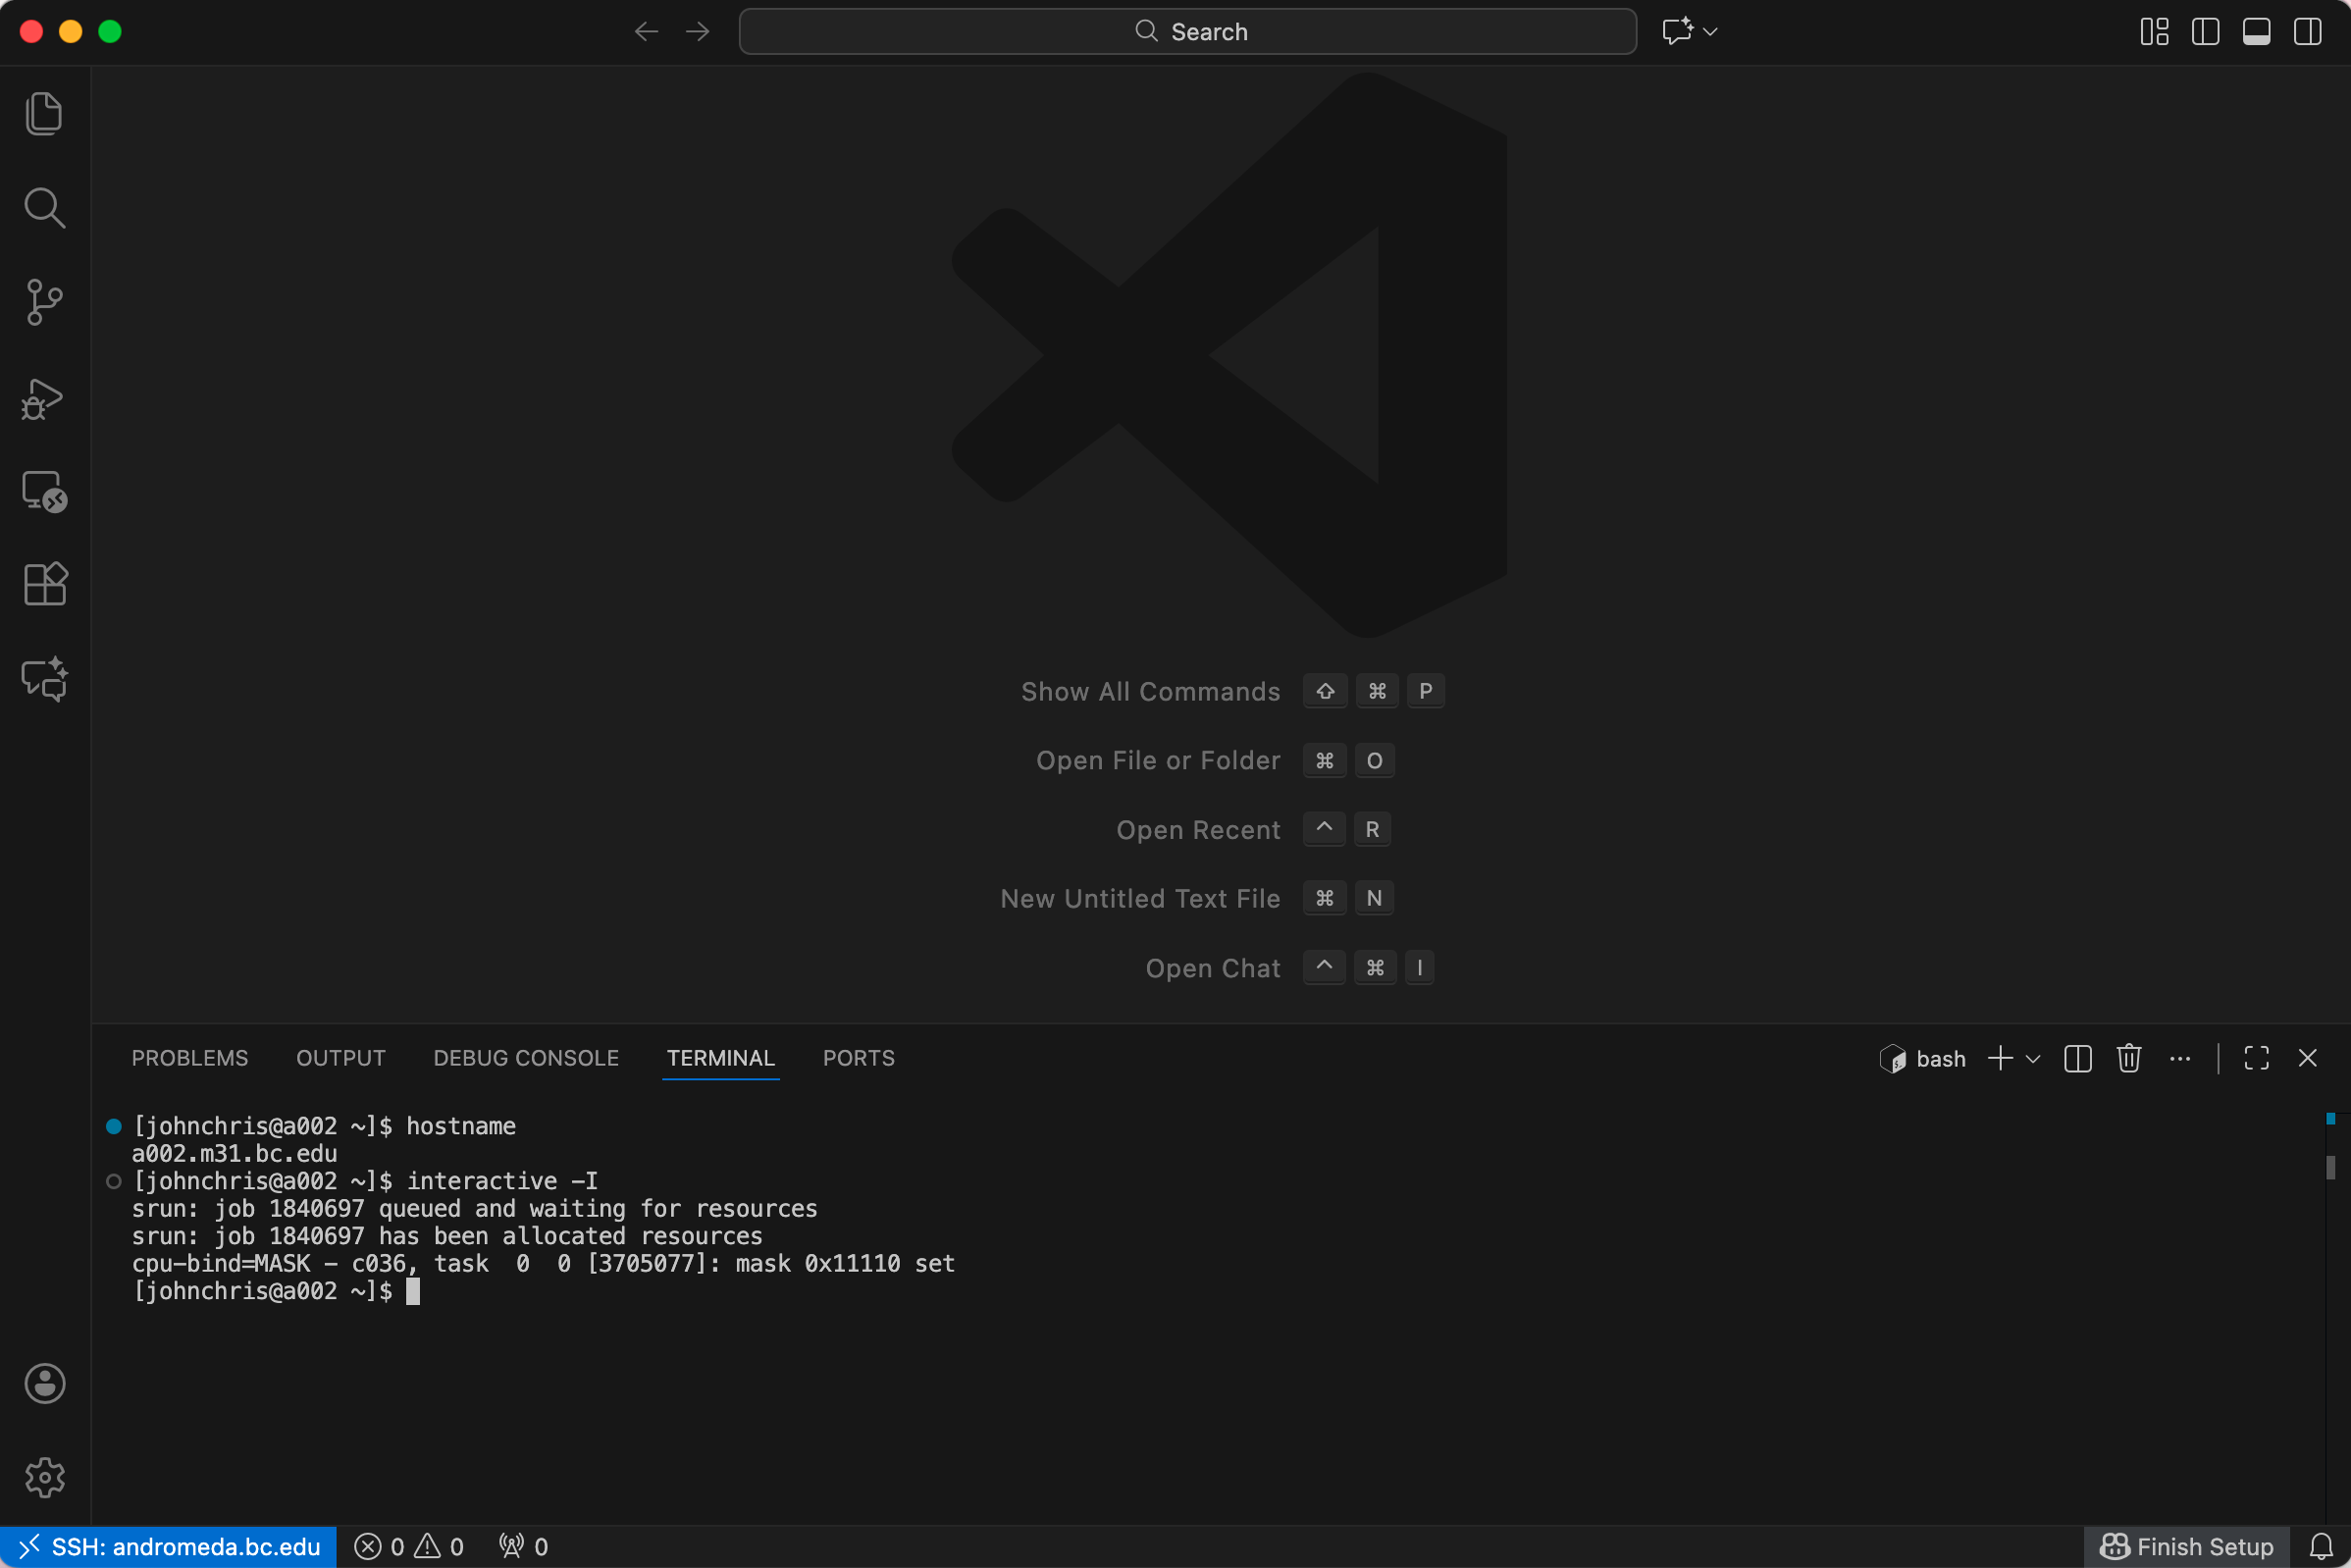
This is exactly the same process as if you were accessing Andromeda through the terminal, so please refer to the related tutorial.